Before & After: My home studio DIY renovation!
I've written in the past about how a formal studio practice didn't work for me (more on that here), but I've always loved having a dedicated space for creative work, so I decided to give a home studio a try. Why: less financial commitment; easier access; and more privacy. (I sing when I paint. Loudly.)
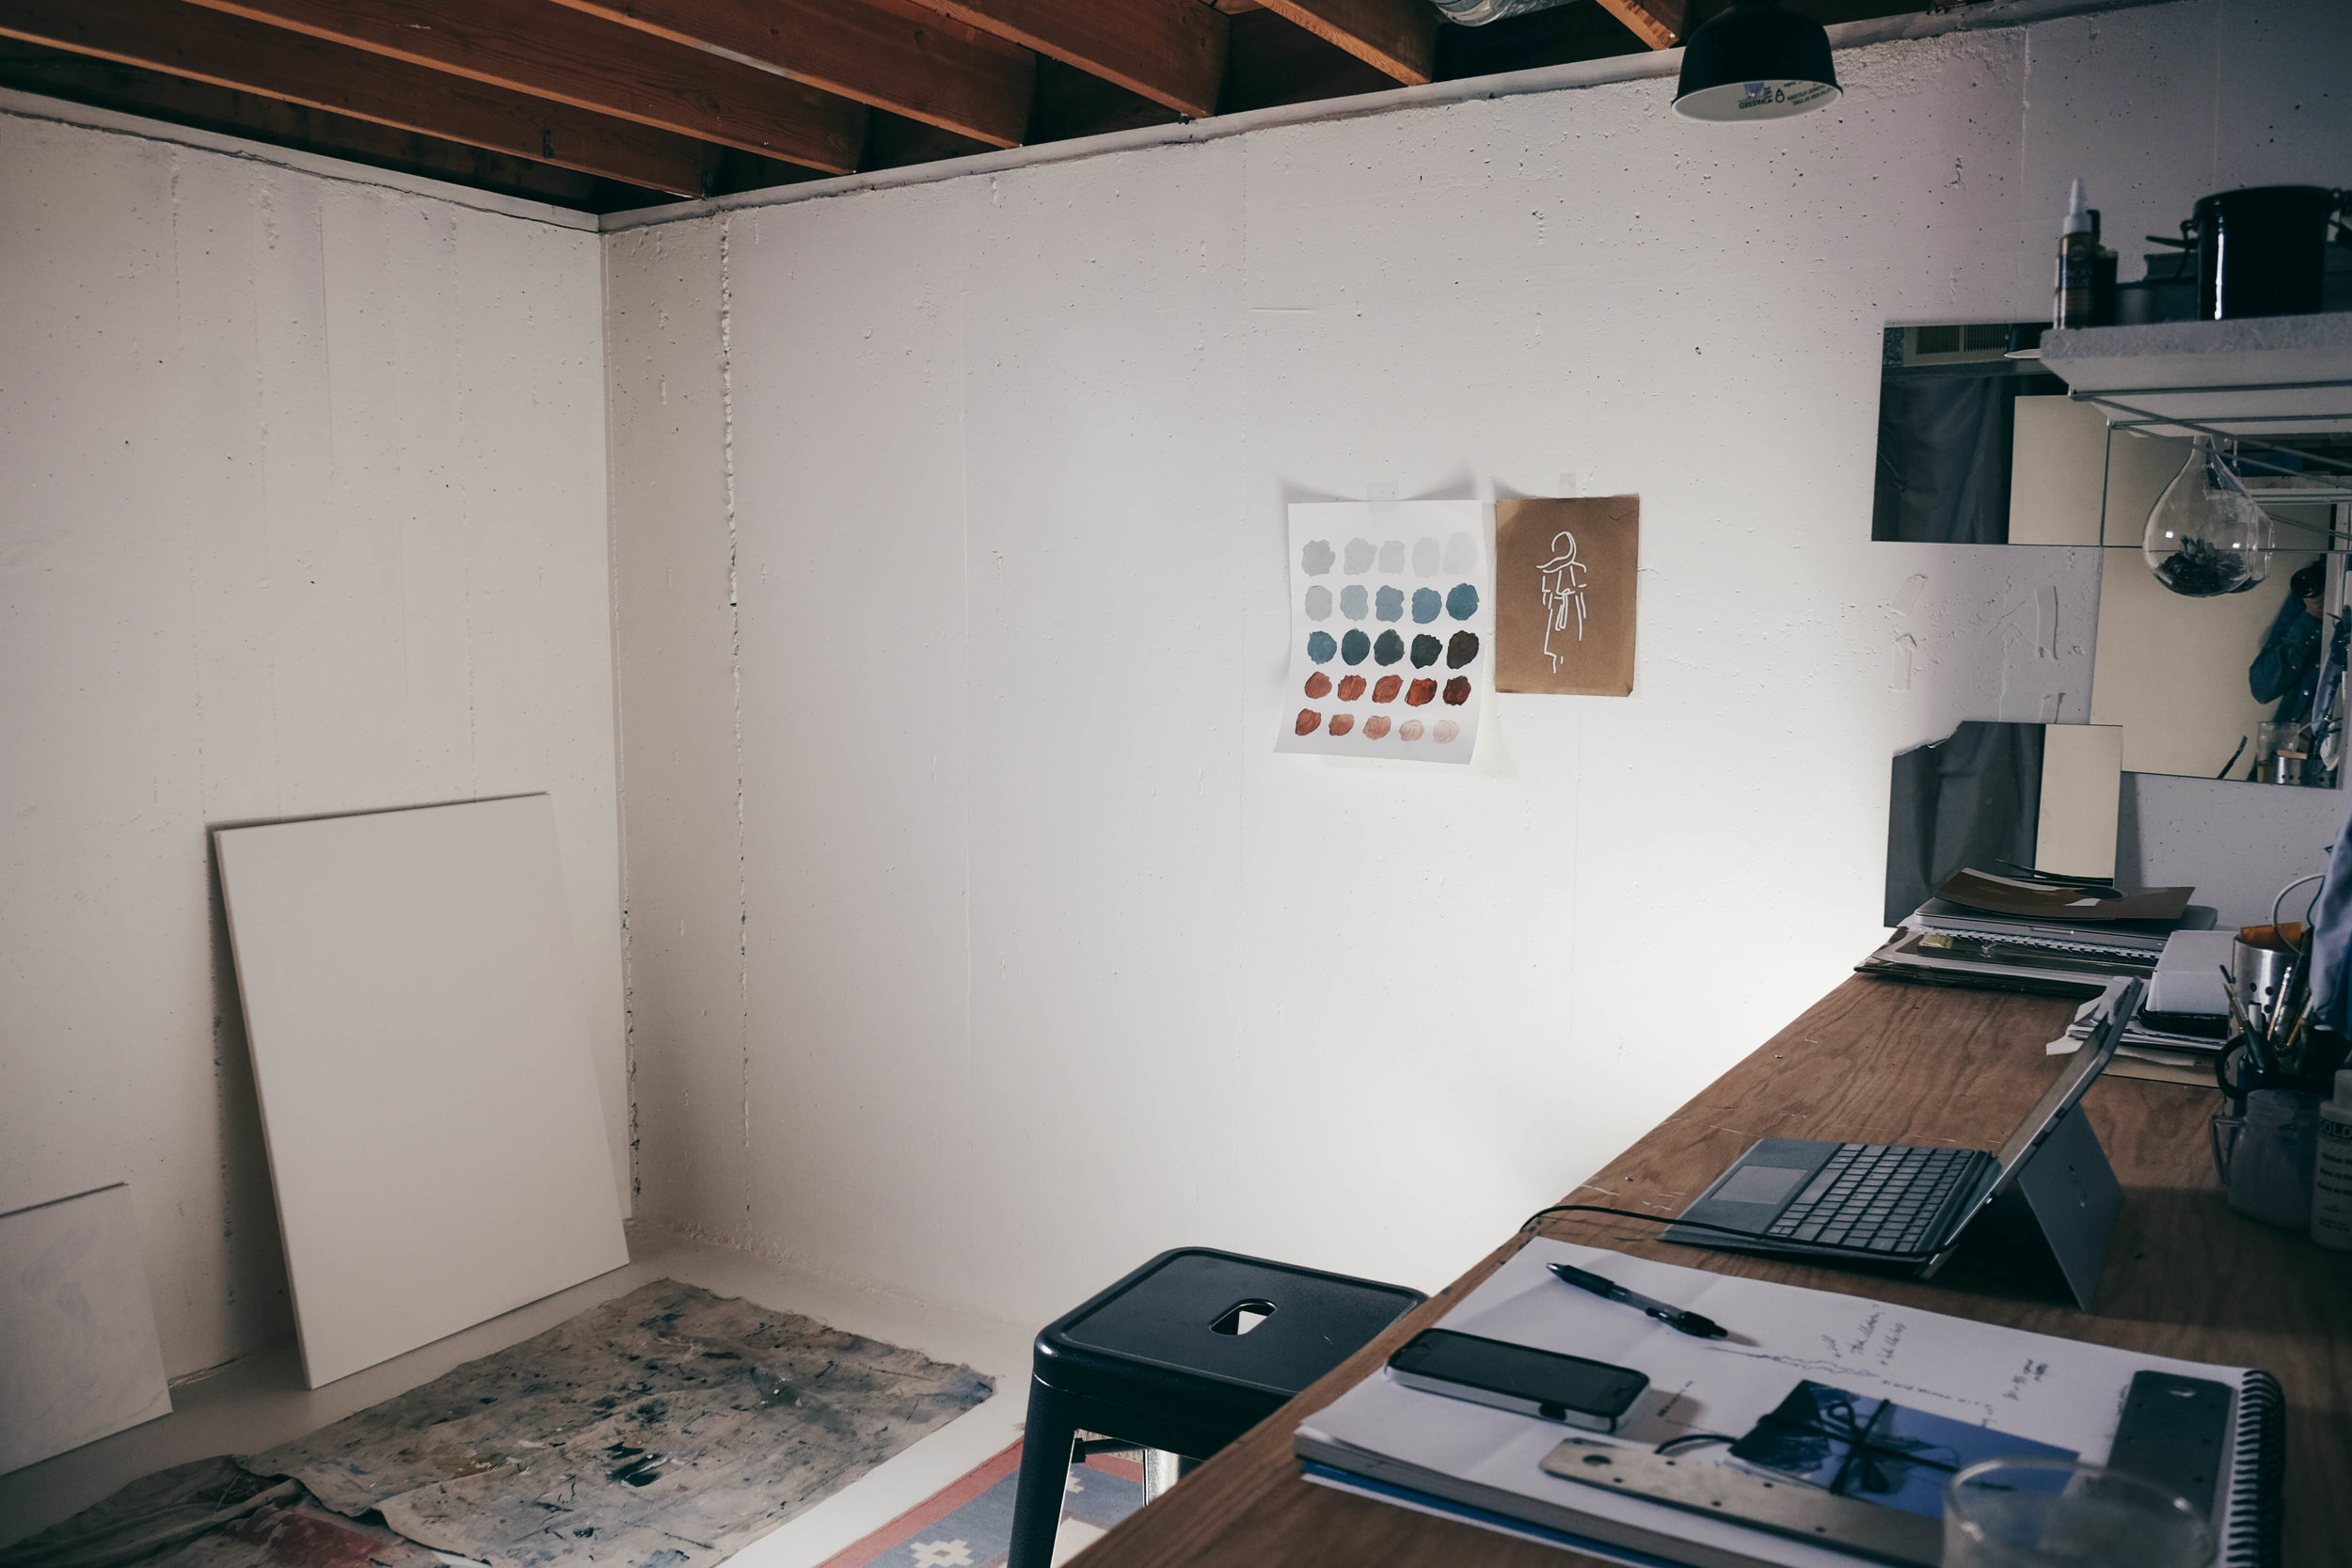
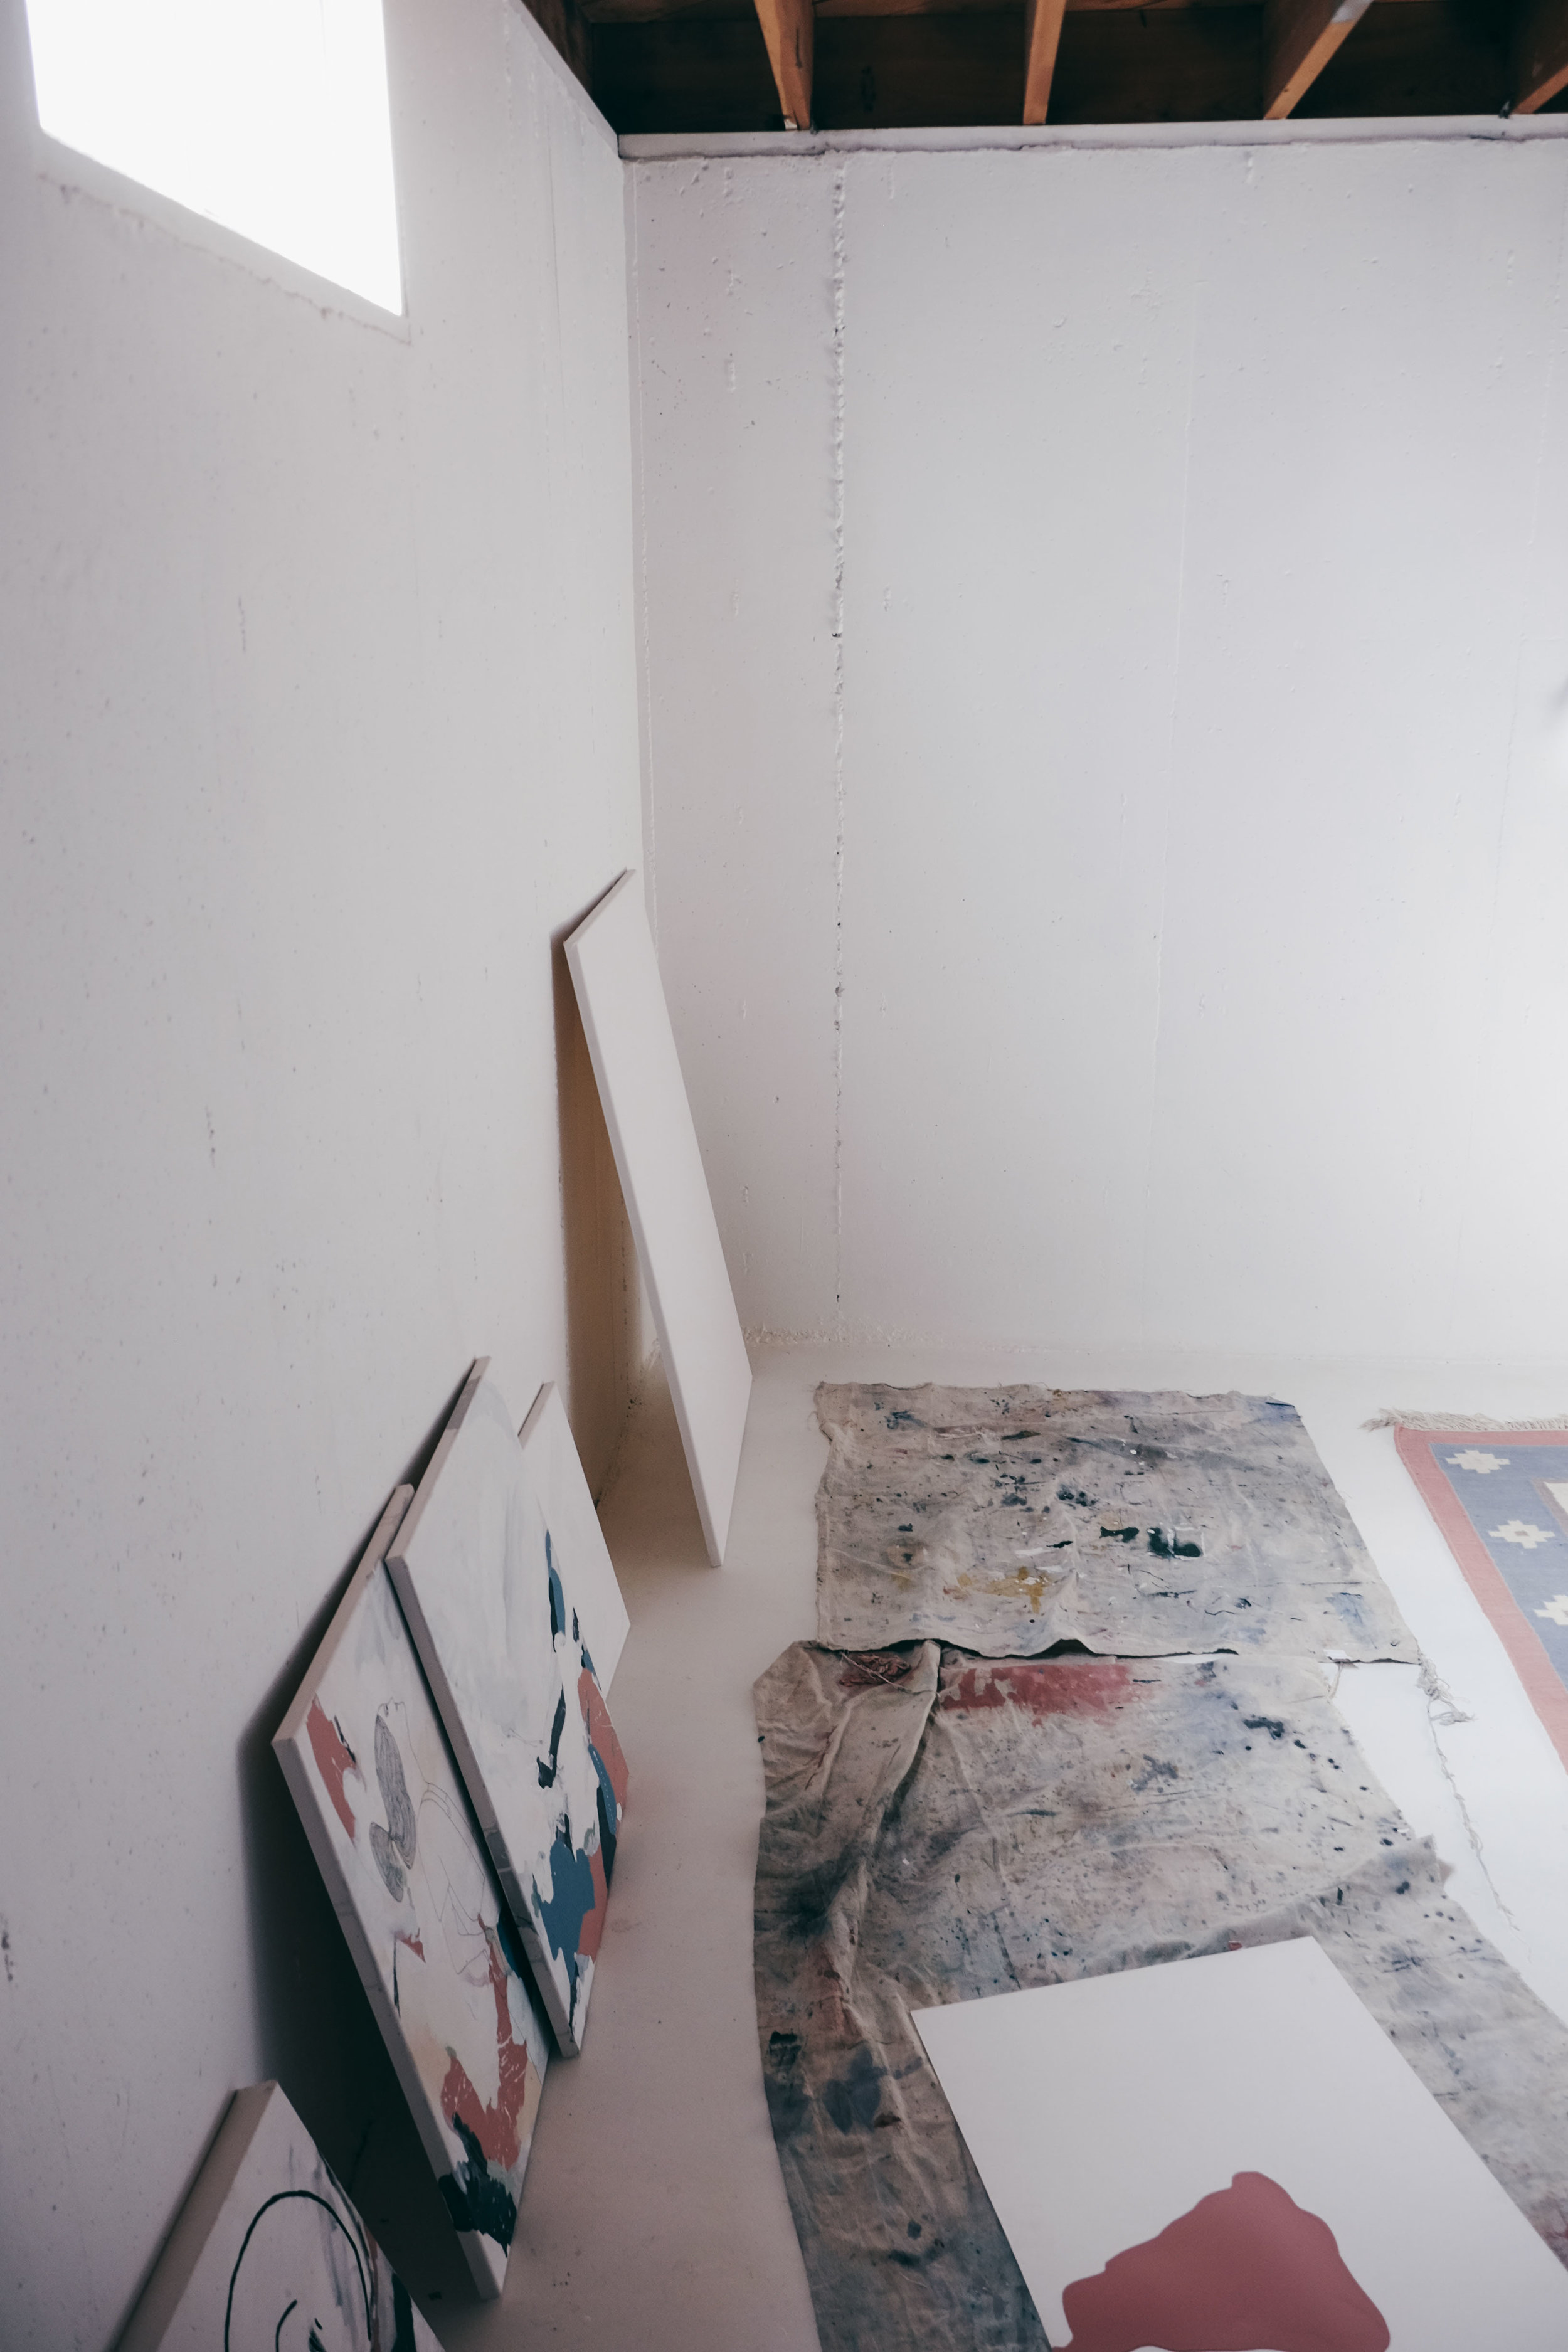
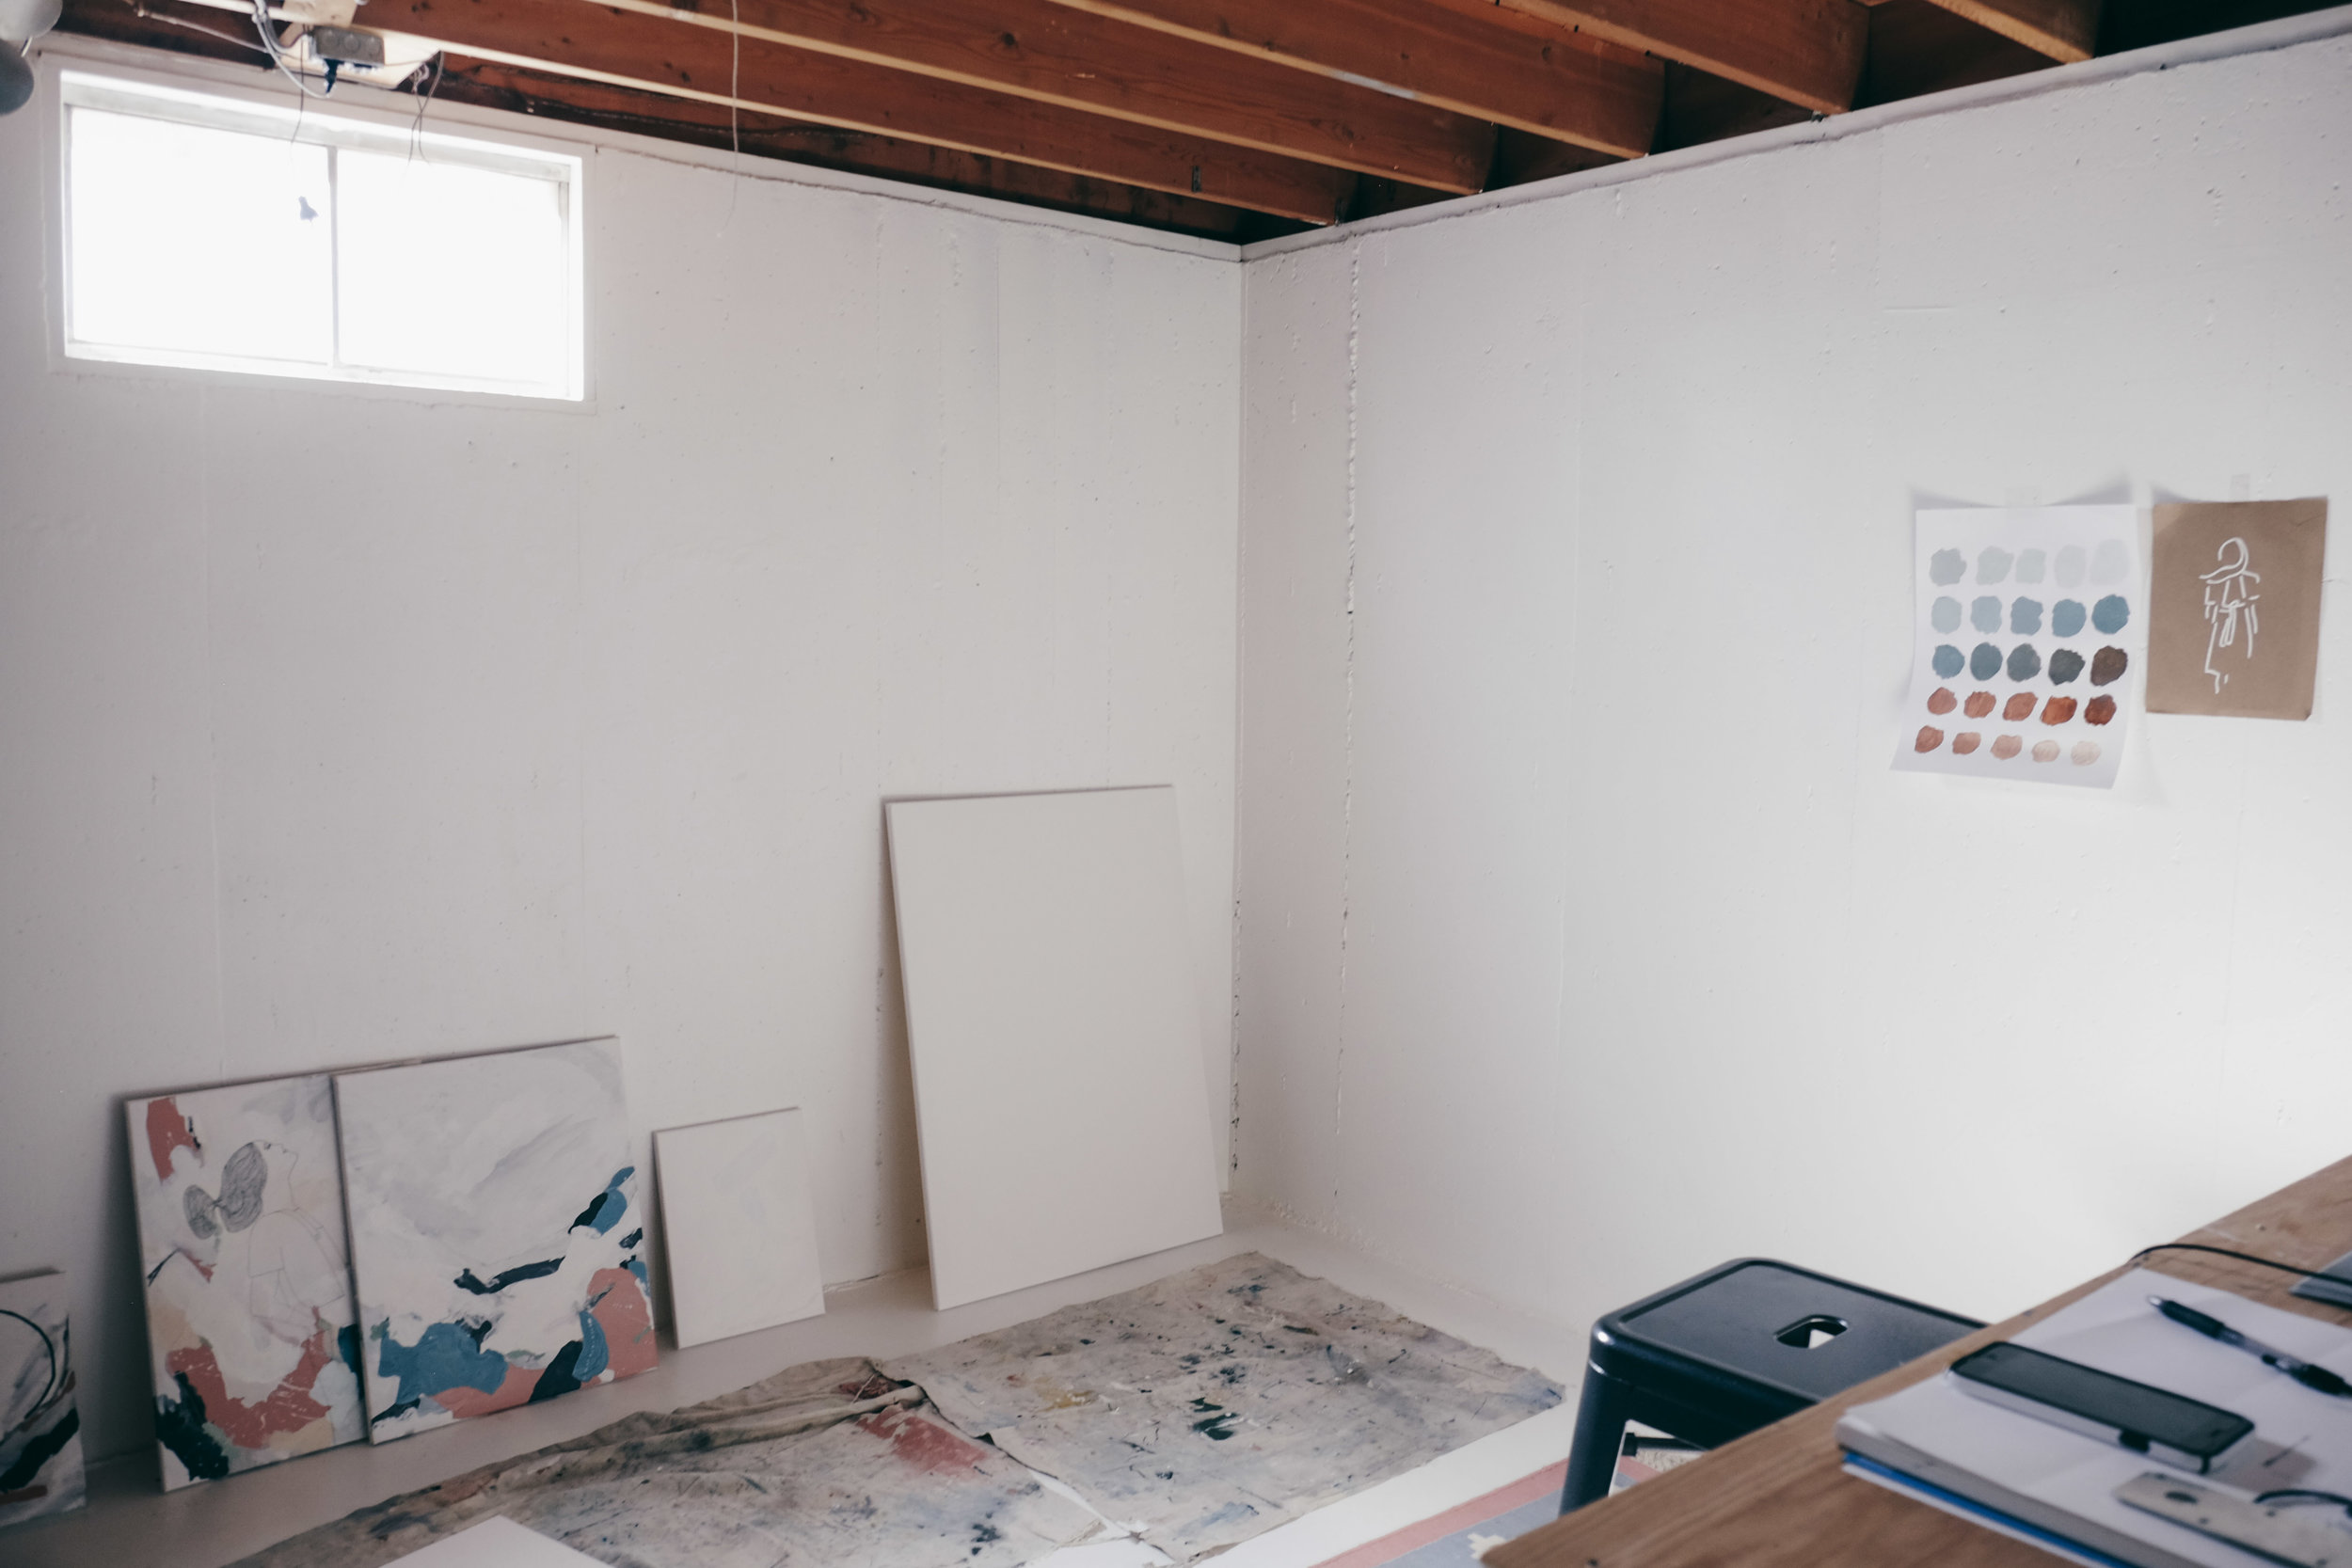
When I discovered this dingy dark concrete room in the basement, I immediately saw it... a studio!
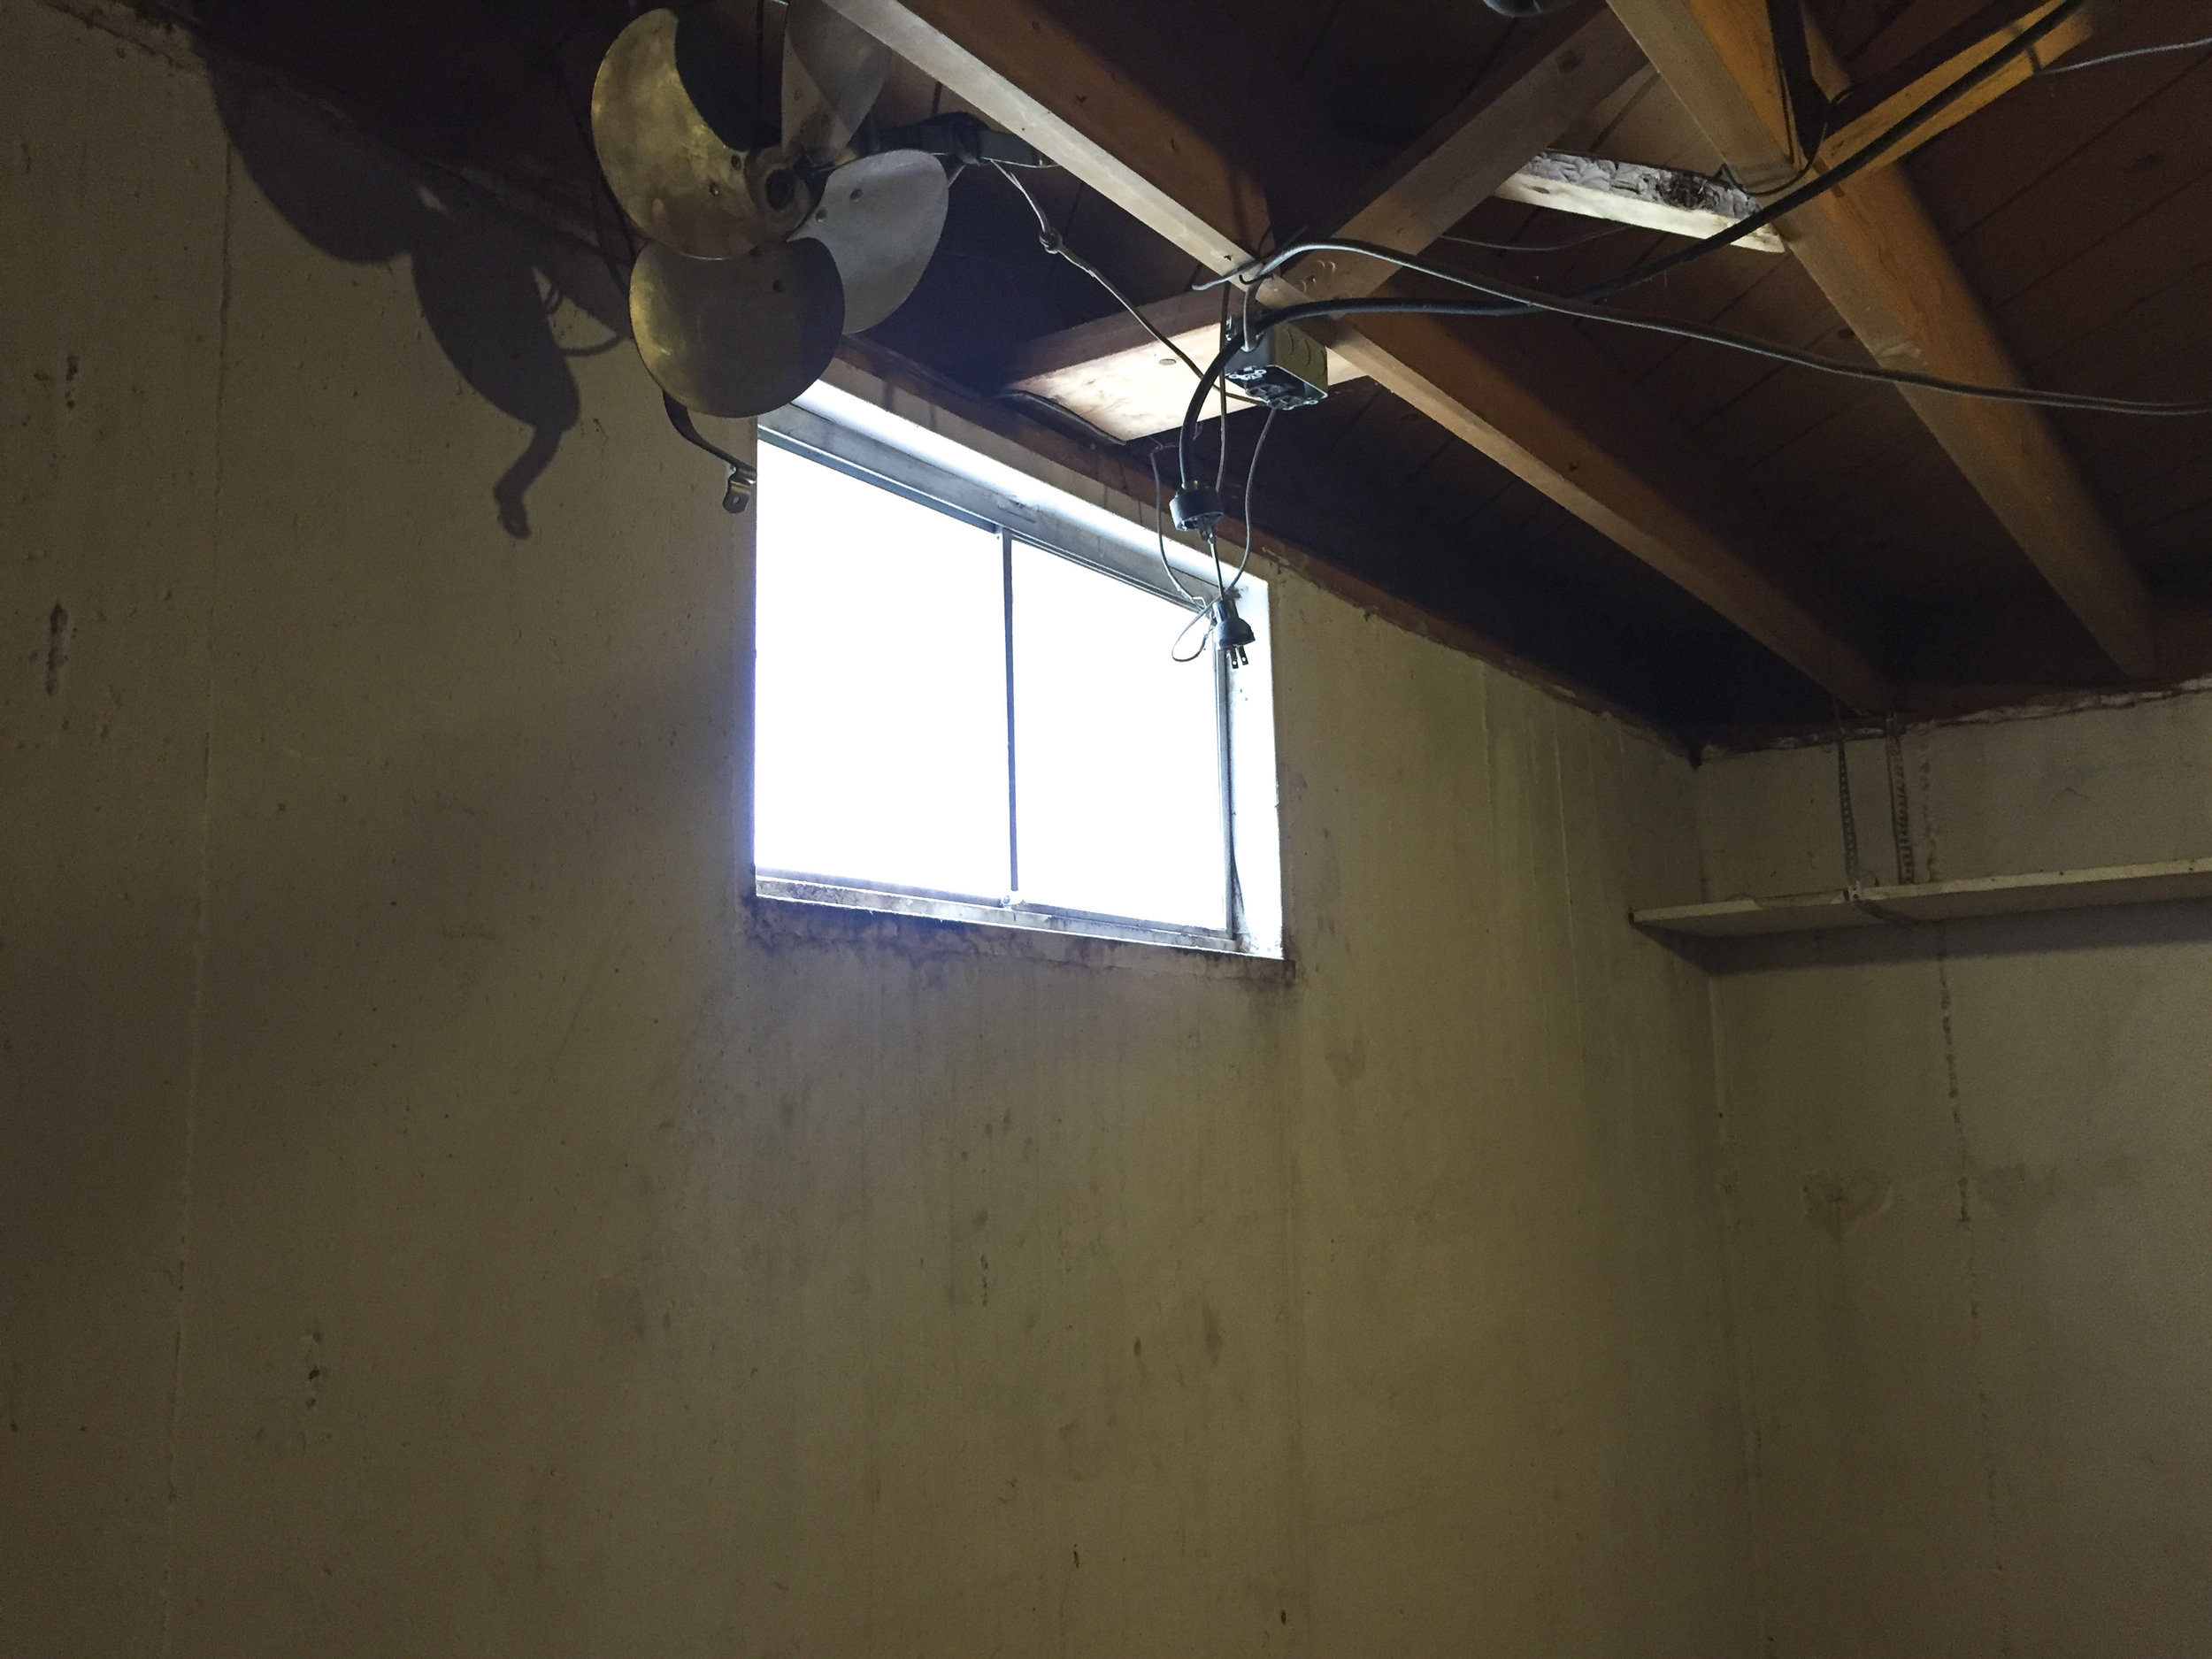
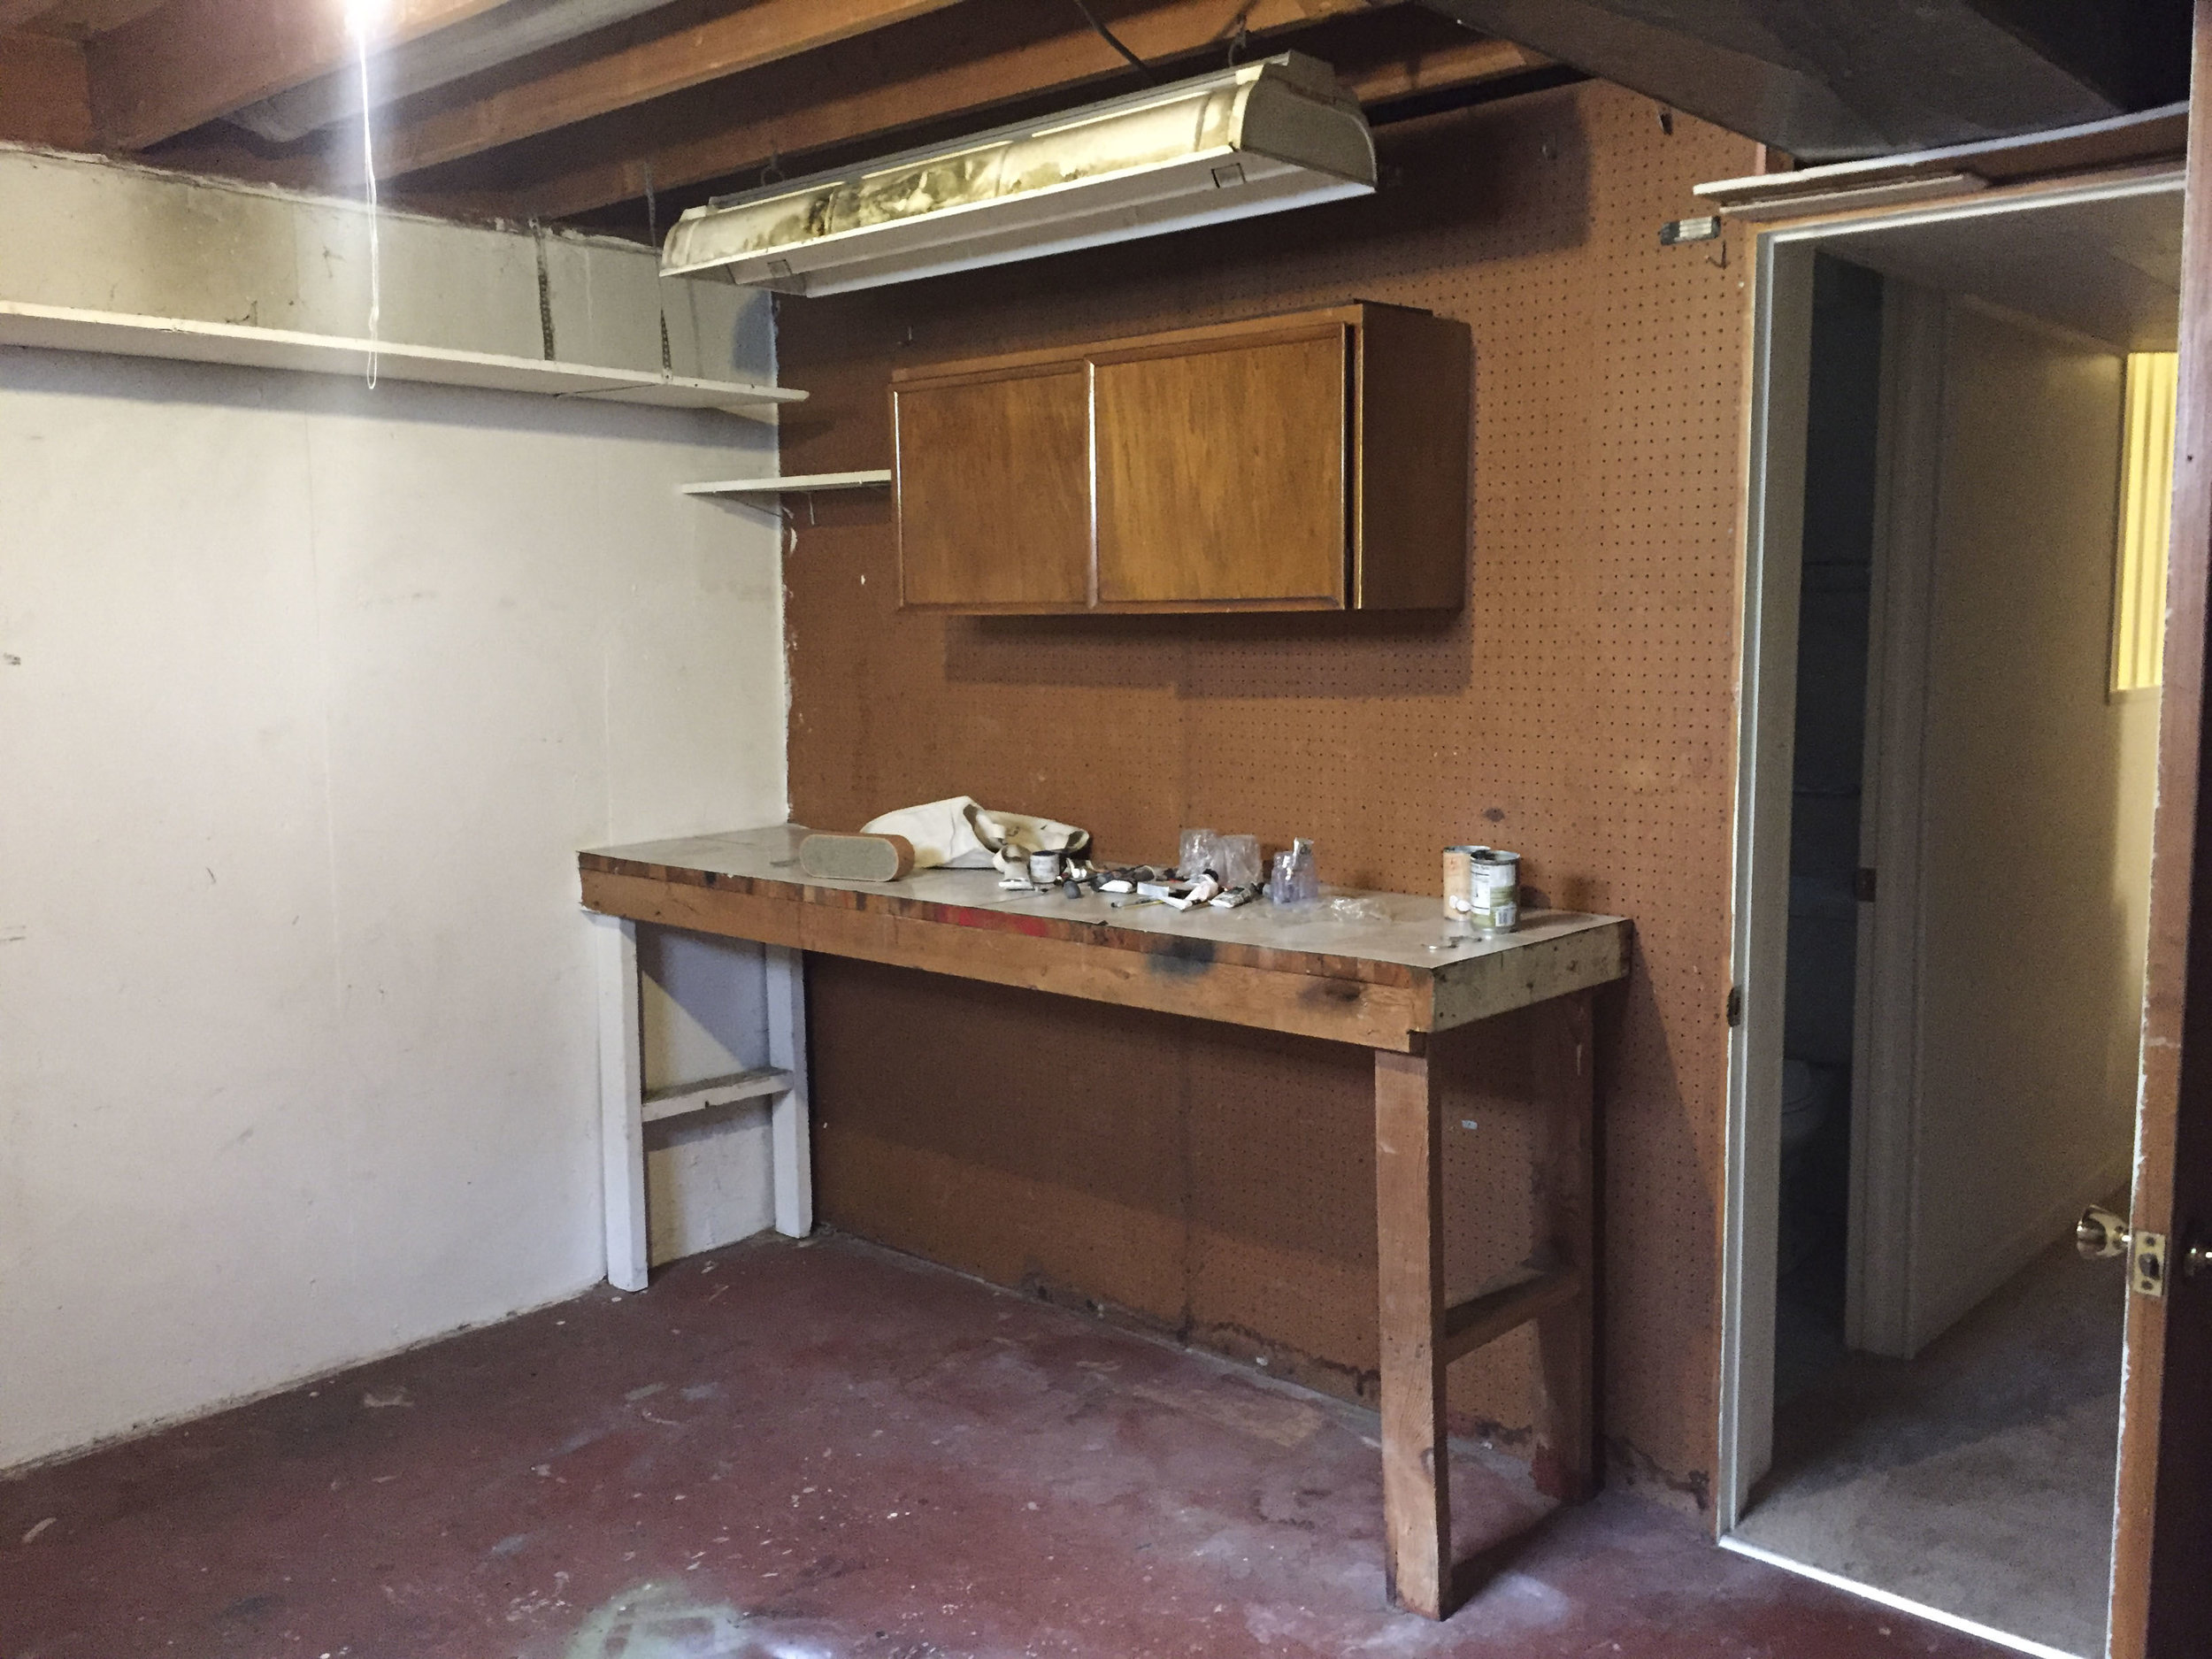
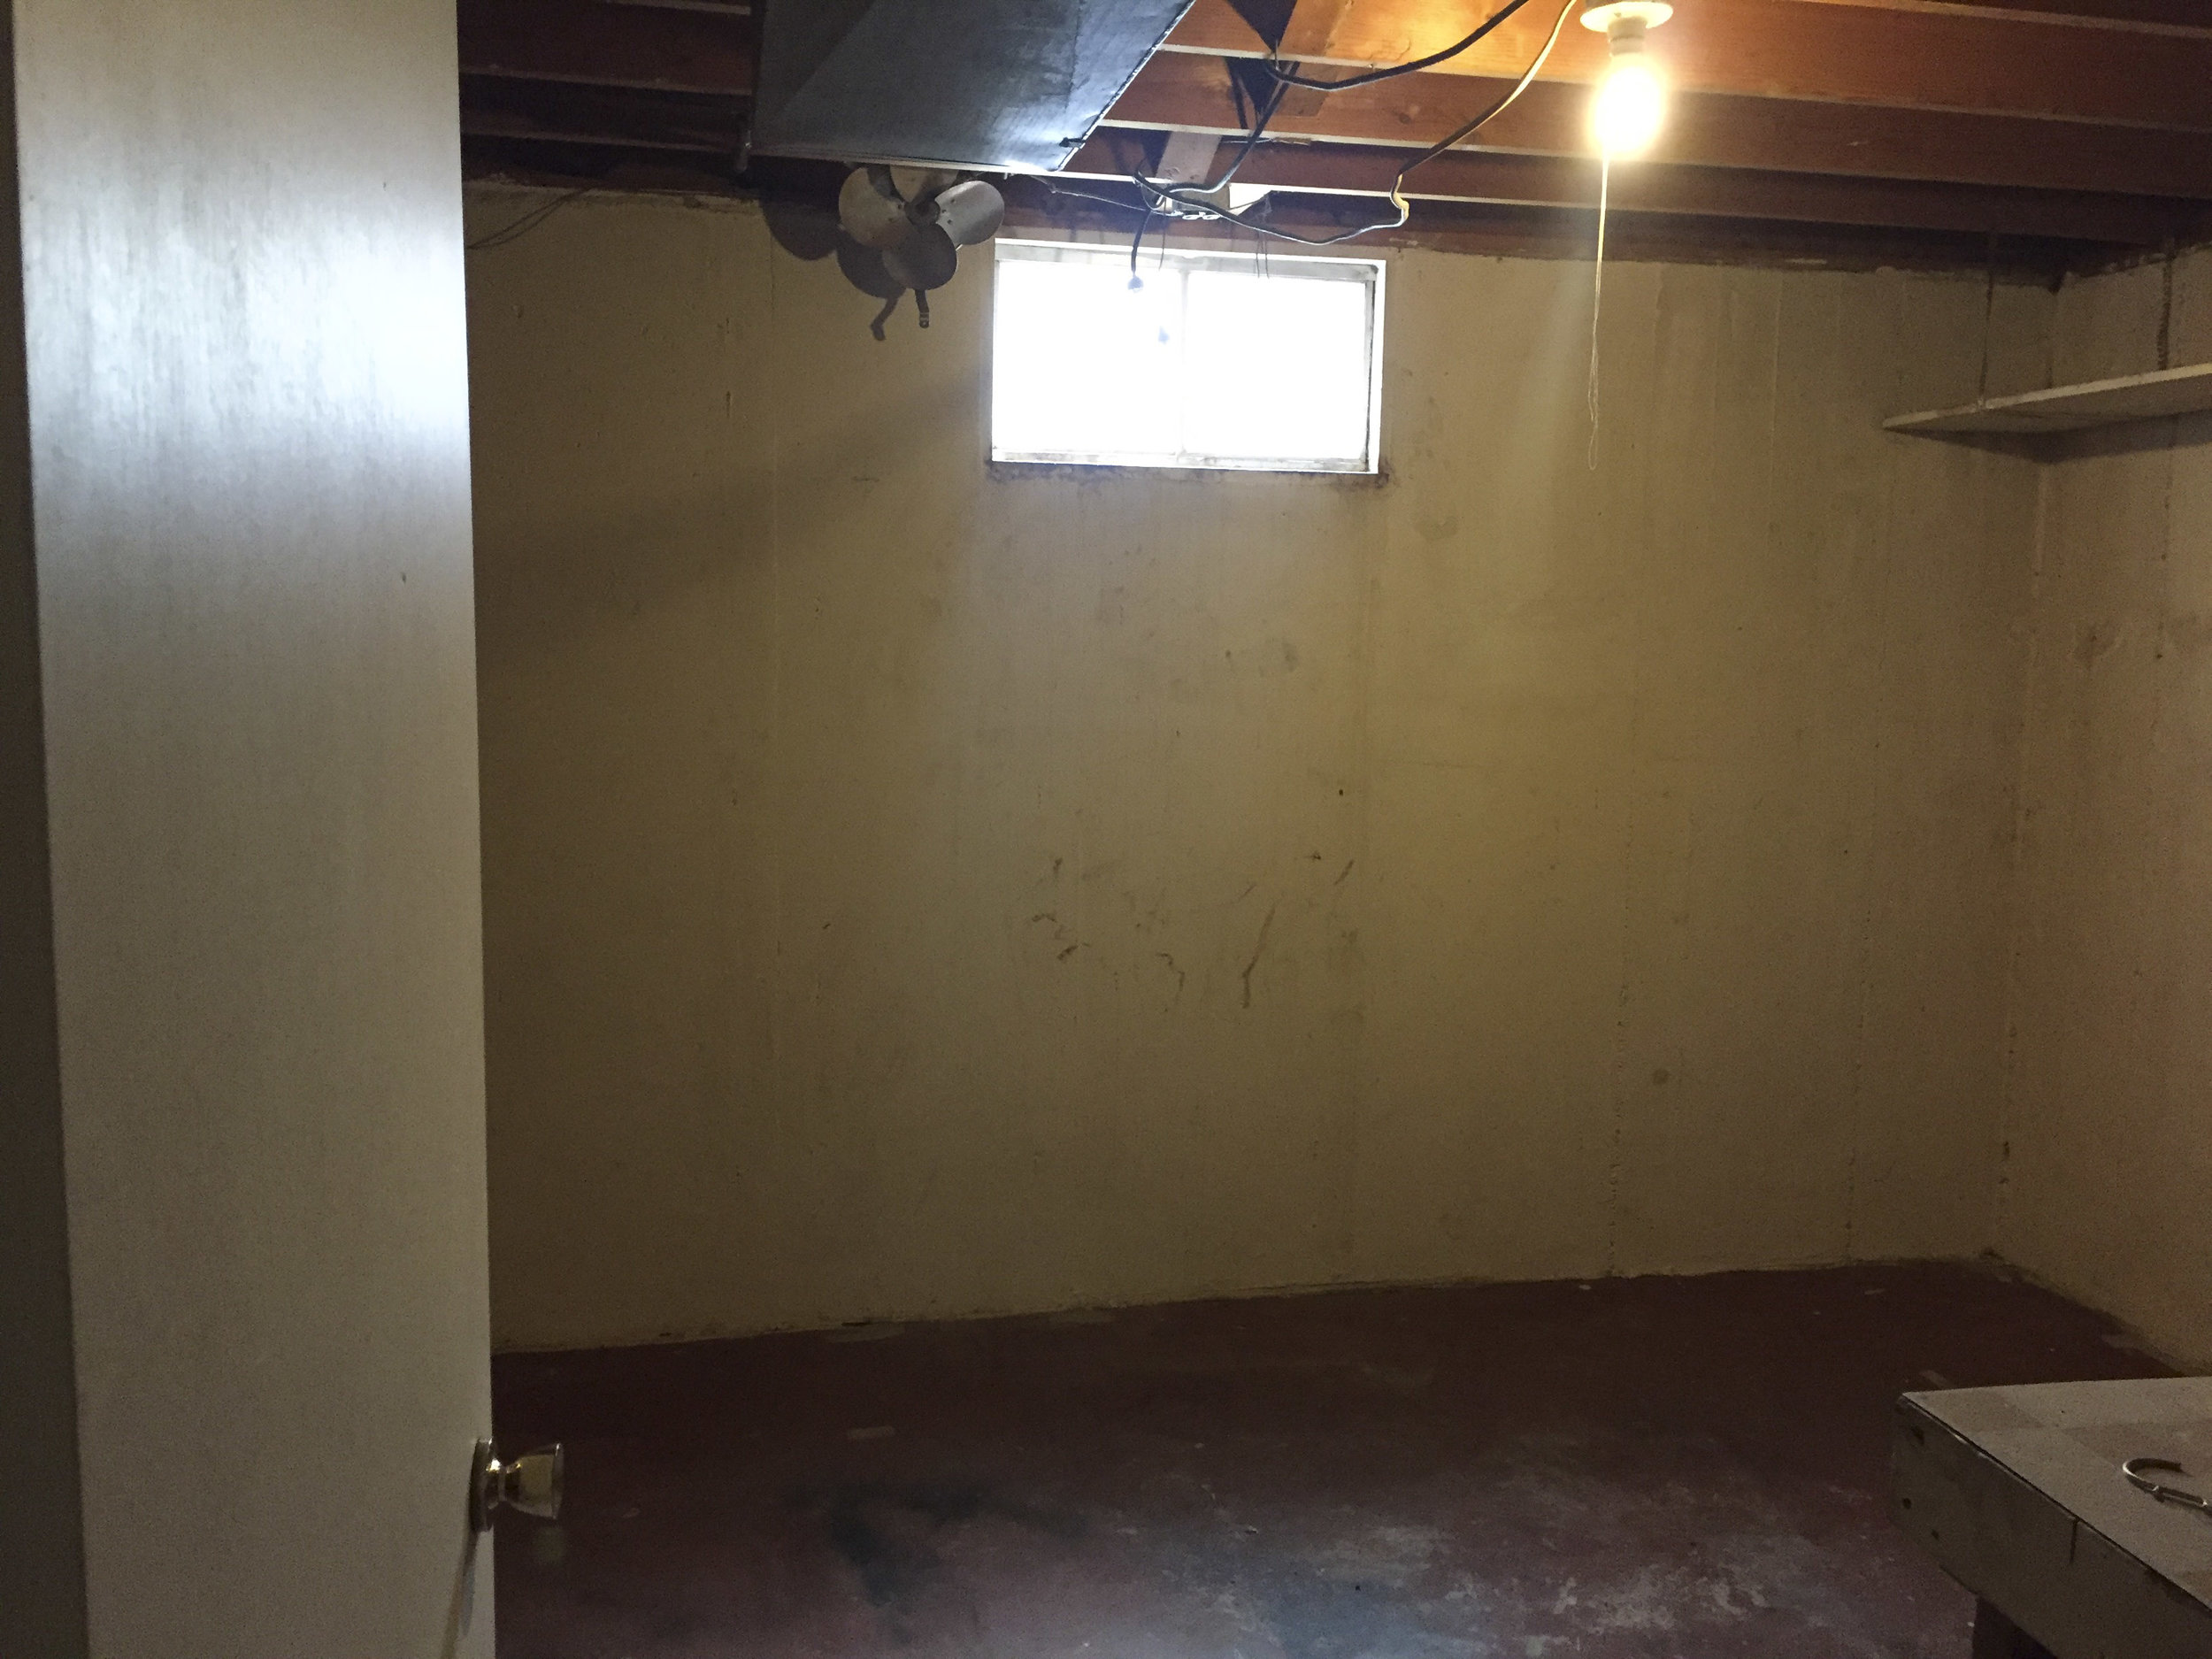
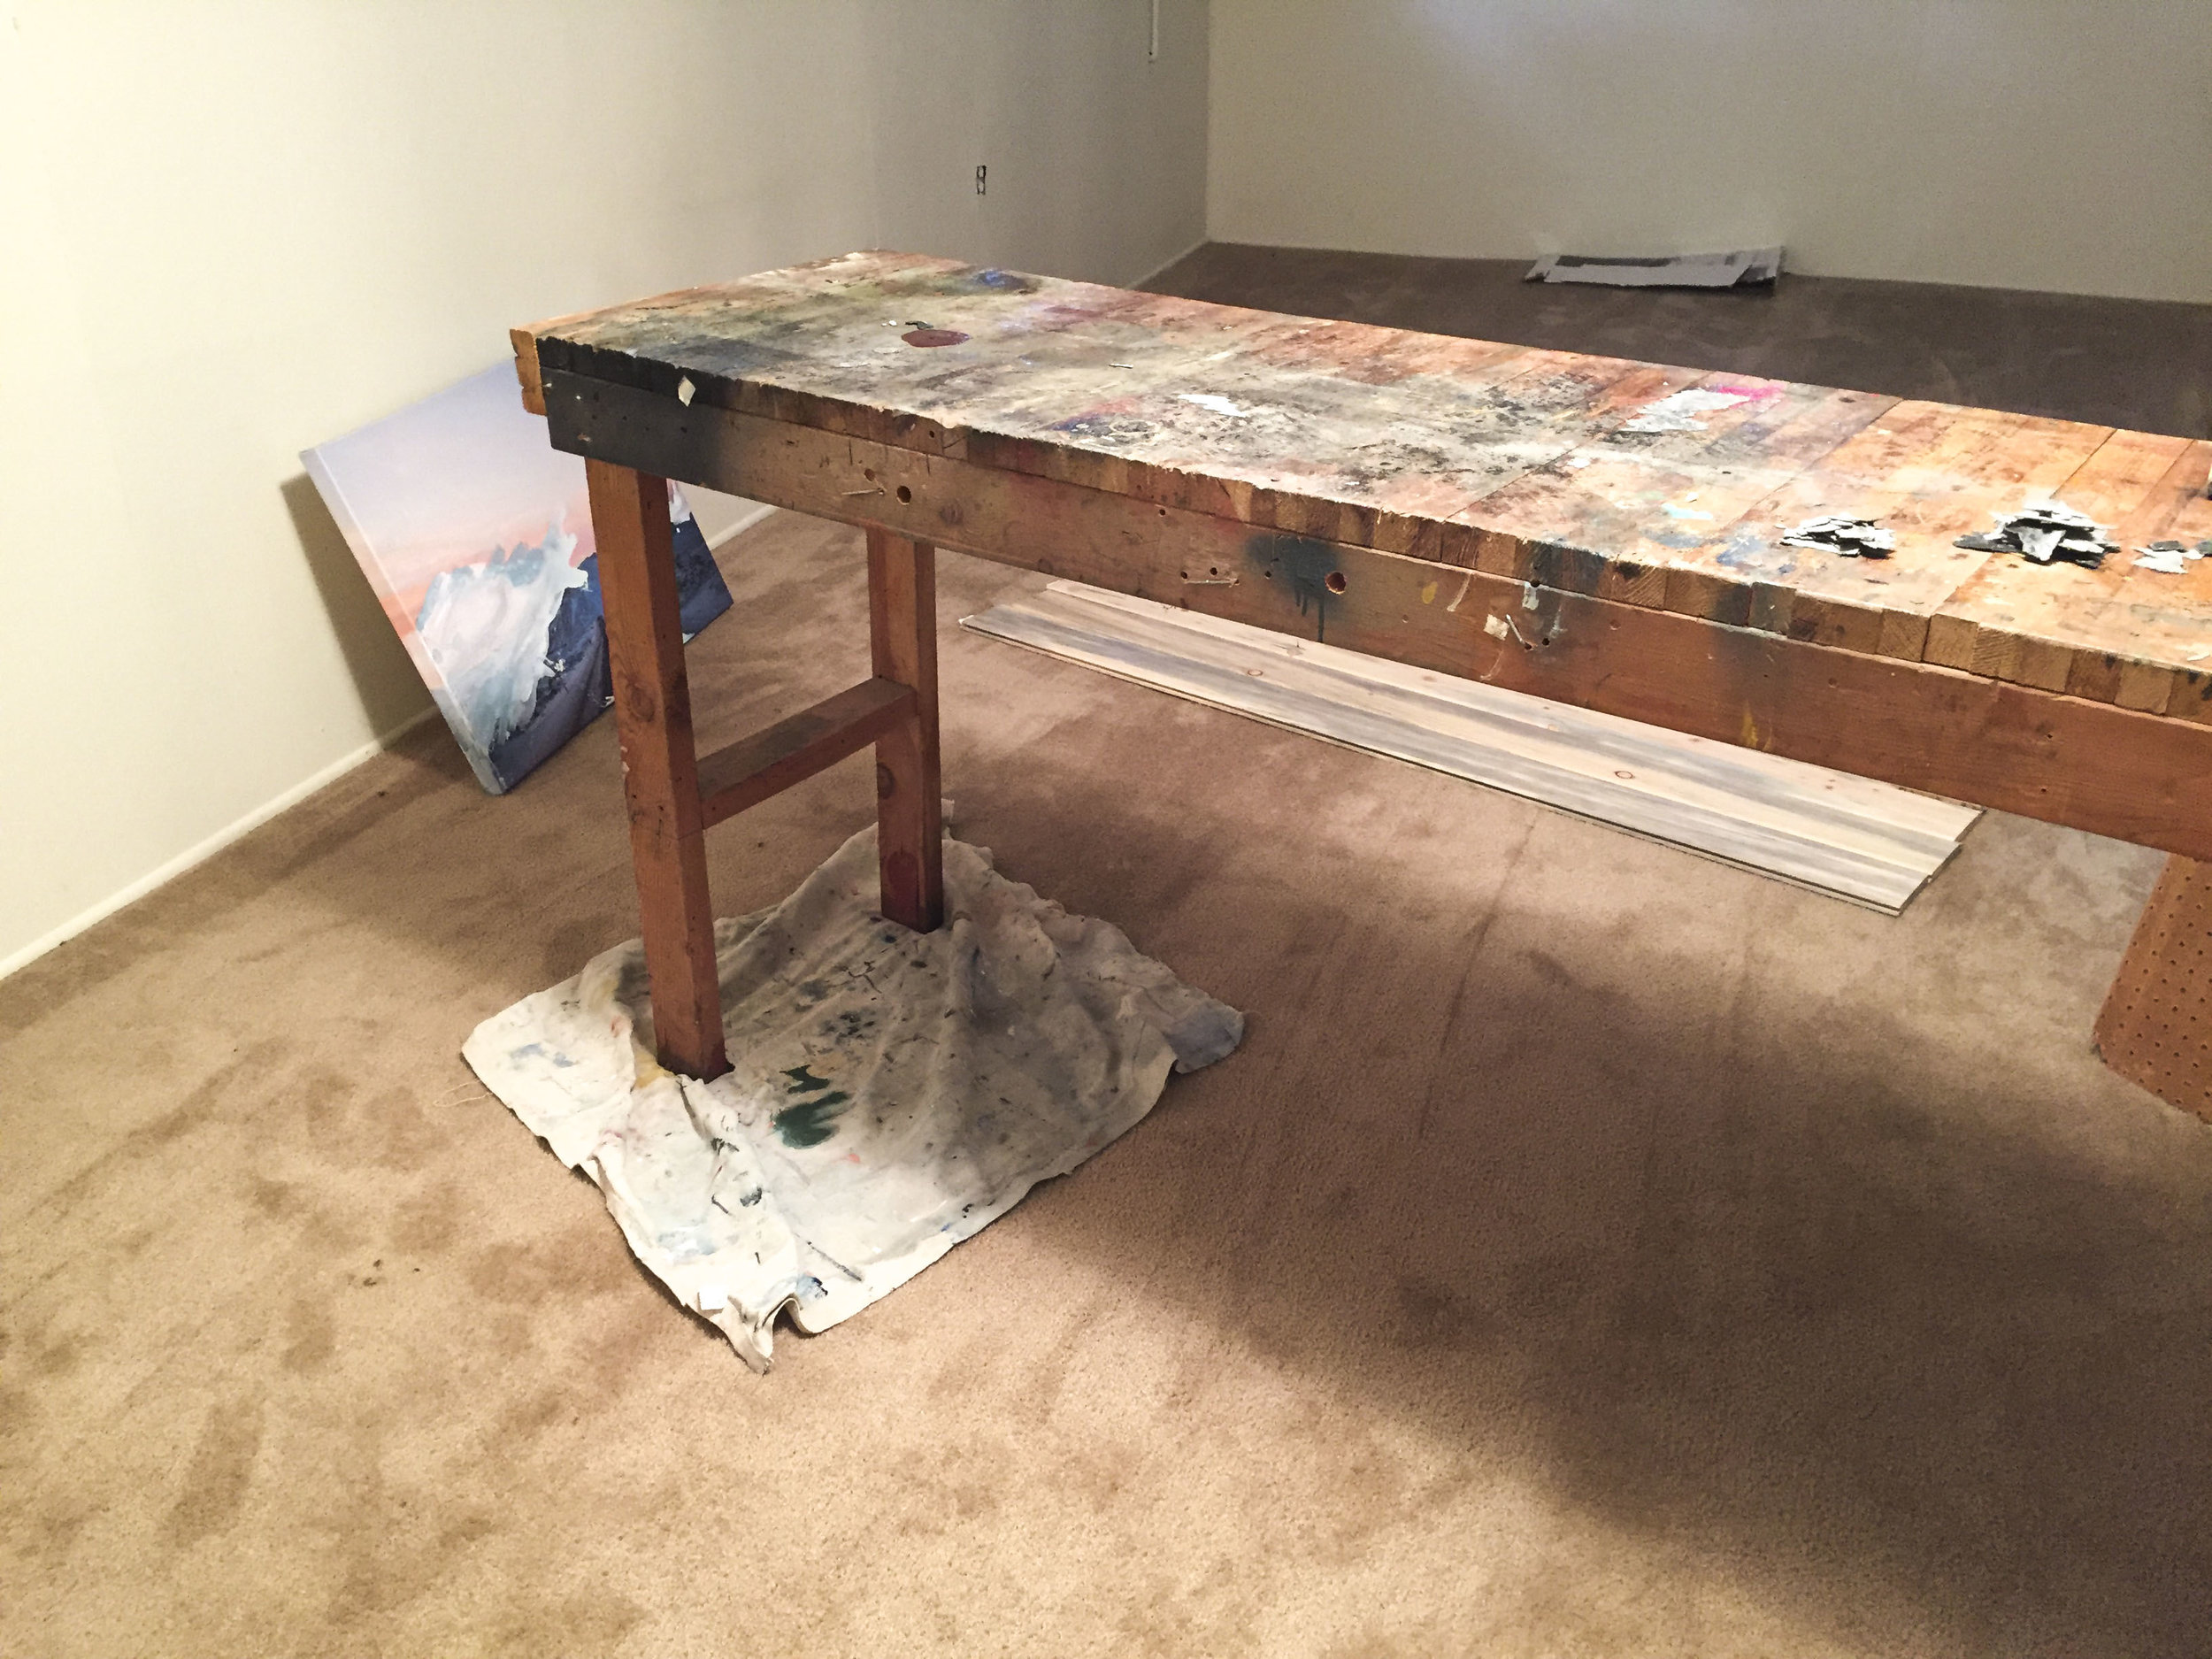
Maybe I'm crazy (my boyfriend certainly thought I was at the time) but I didn't just see a spider dungeon and THE ugliest burgundy-stained floor ever, I saw potential. With a little (correction: A LOT) scrubbing and a few coats of white paint, I knew it could be the new home to my art practice.
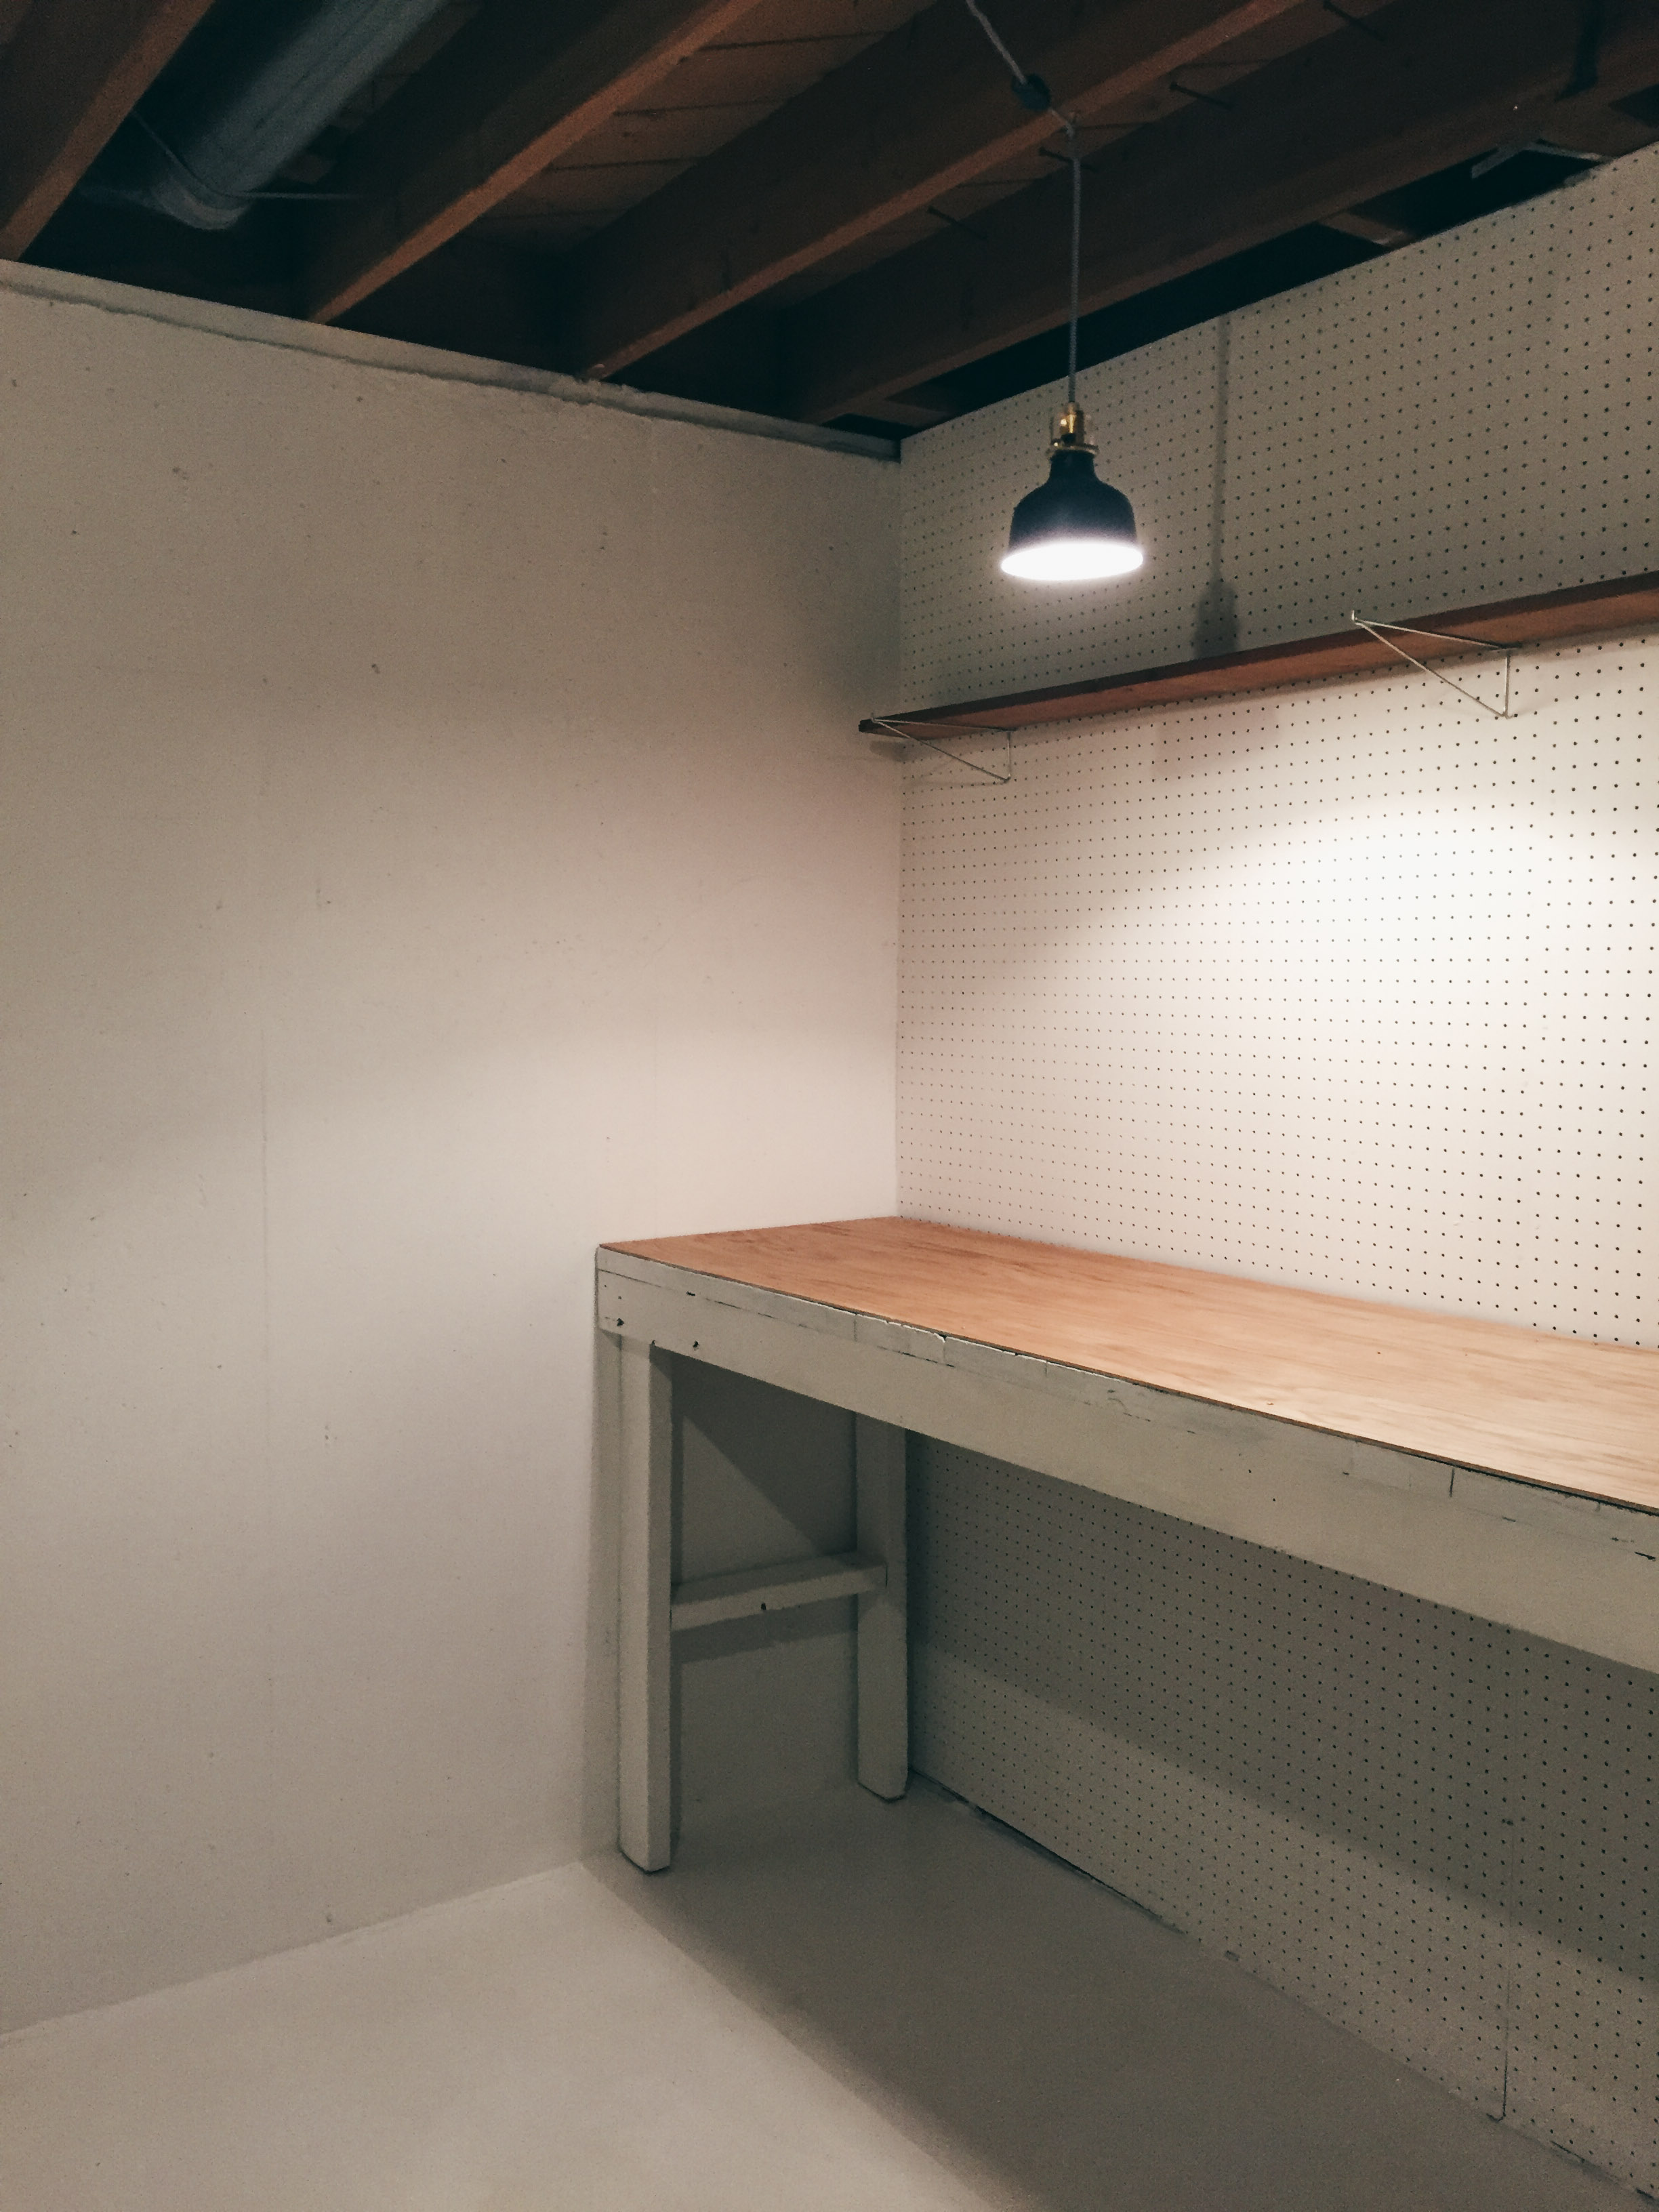
And I was right!


The Process (approximately one month):
- Removed EVERYTHING from the space -- old cabinets, shelves, light fixtures, and the table. One of the only thing I left was the vintagey metal fan, which would nearly cut my finger off while painting later.
- Deep cleaned. I scrubbed the walls down with antibacterial soap and hot water and swept all the cobwebs out of the rafters.
- Sanded floor and walls. This is essential to prep for painting!
- Swept and vacuumed x 10. You don't want dust on any surfaces before painting.
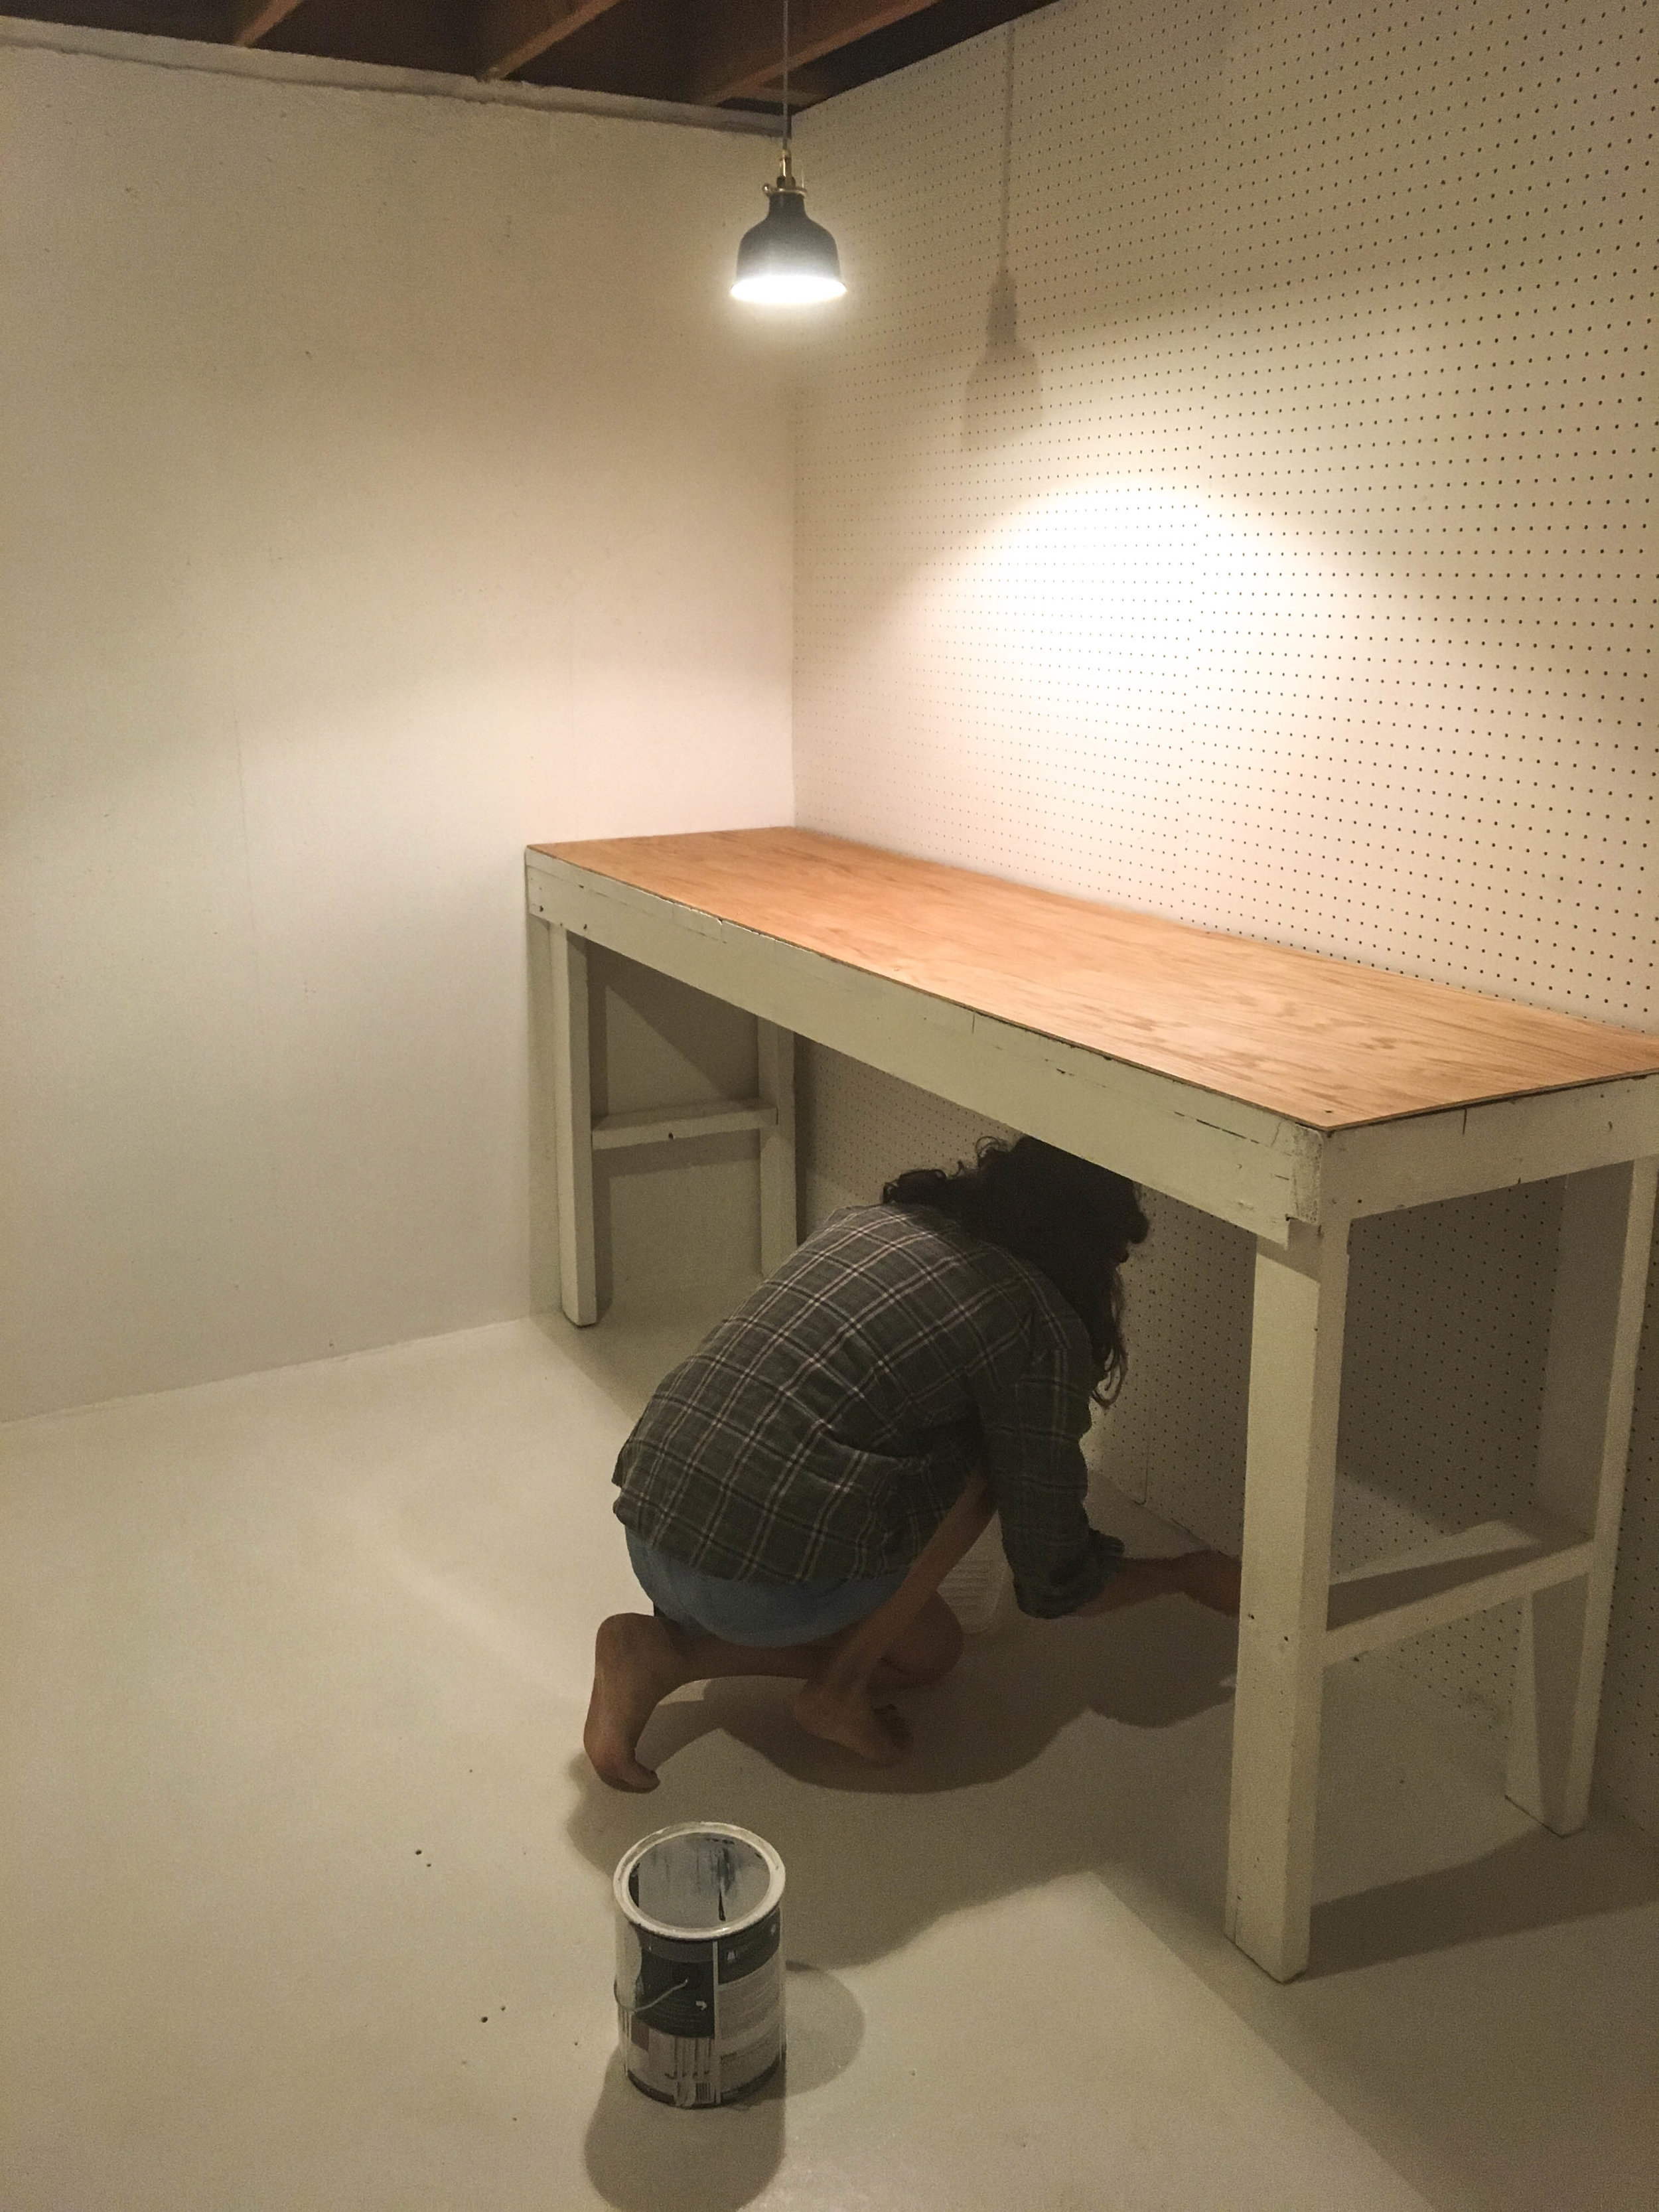
- Painted the floor and walls. (Paint listed/linked below). I laid down 4-5 coats on every surface since concrete is super absorbent.
- Sealed the floor (listed below). This puts a thin sheen over the paint, which makes it resistant to stains and easy to clean.
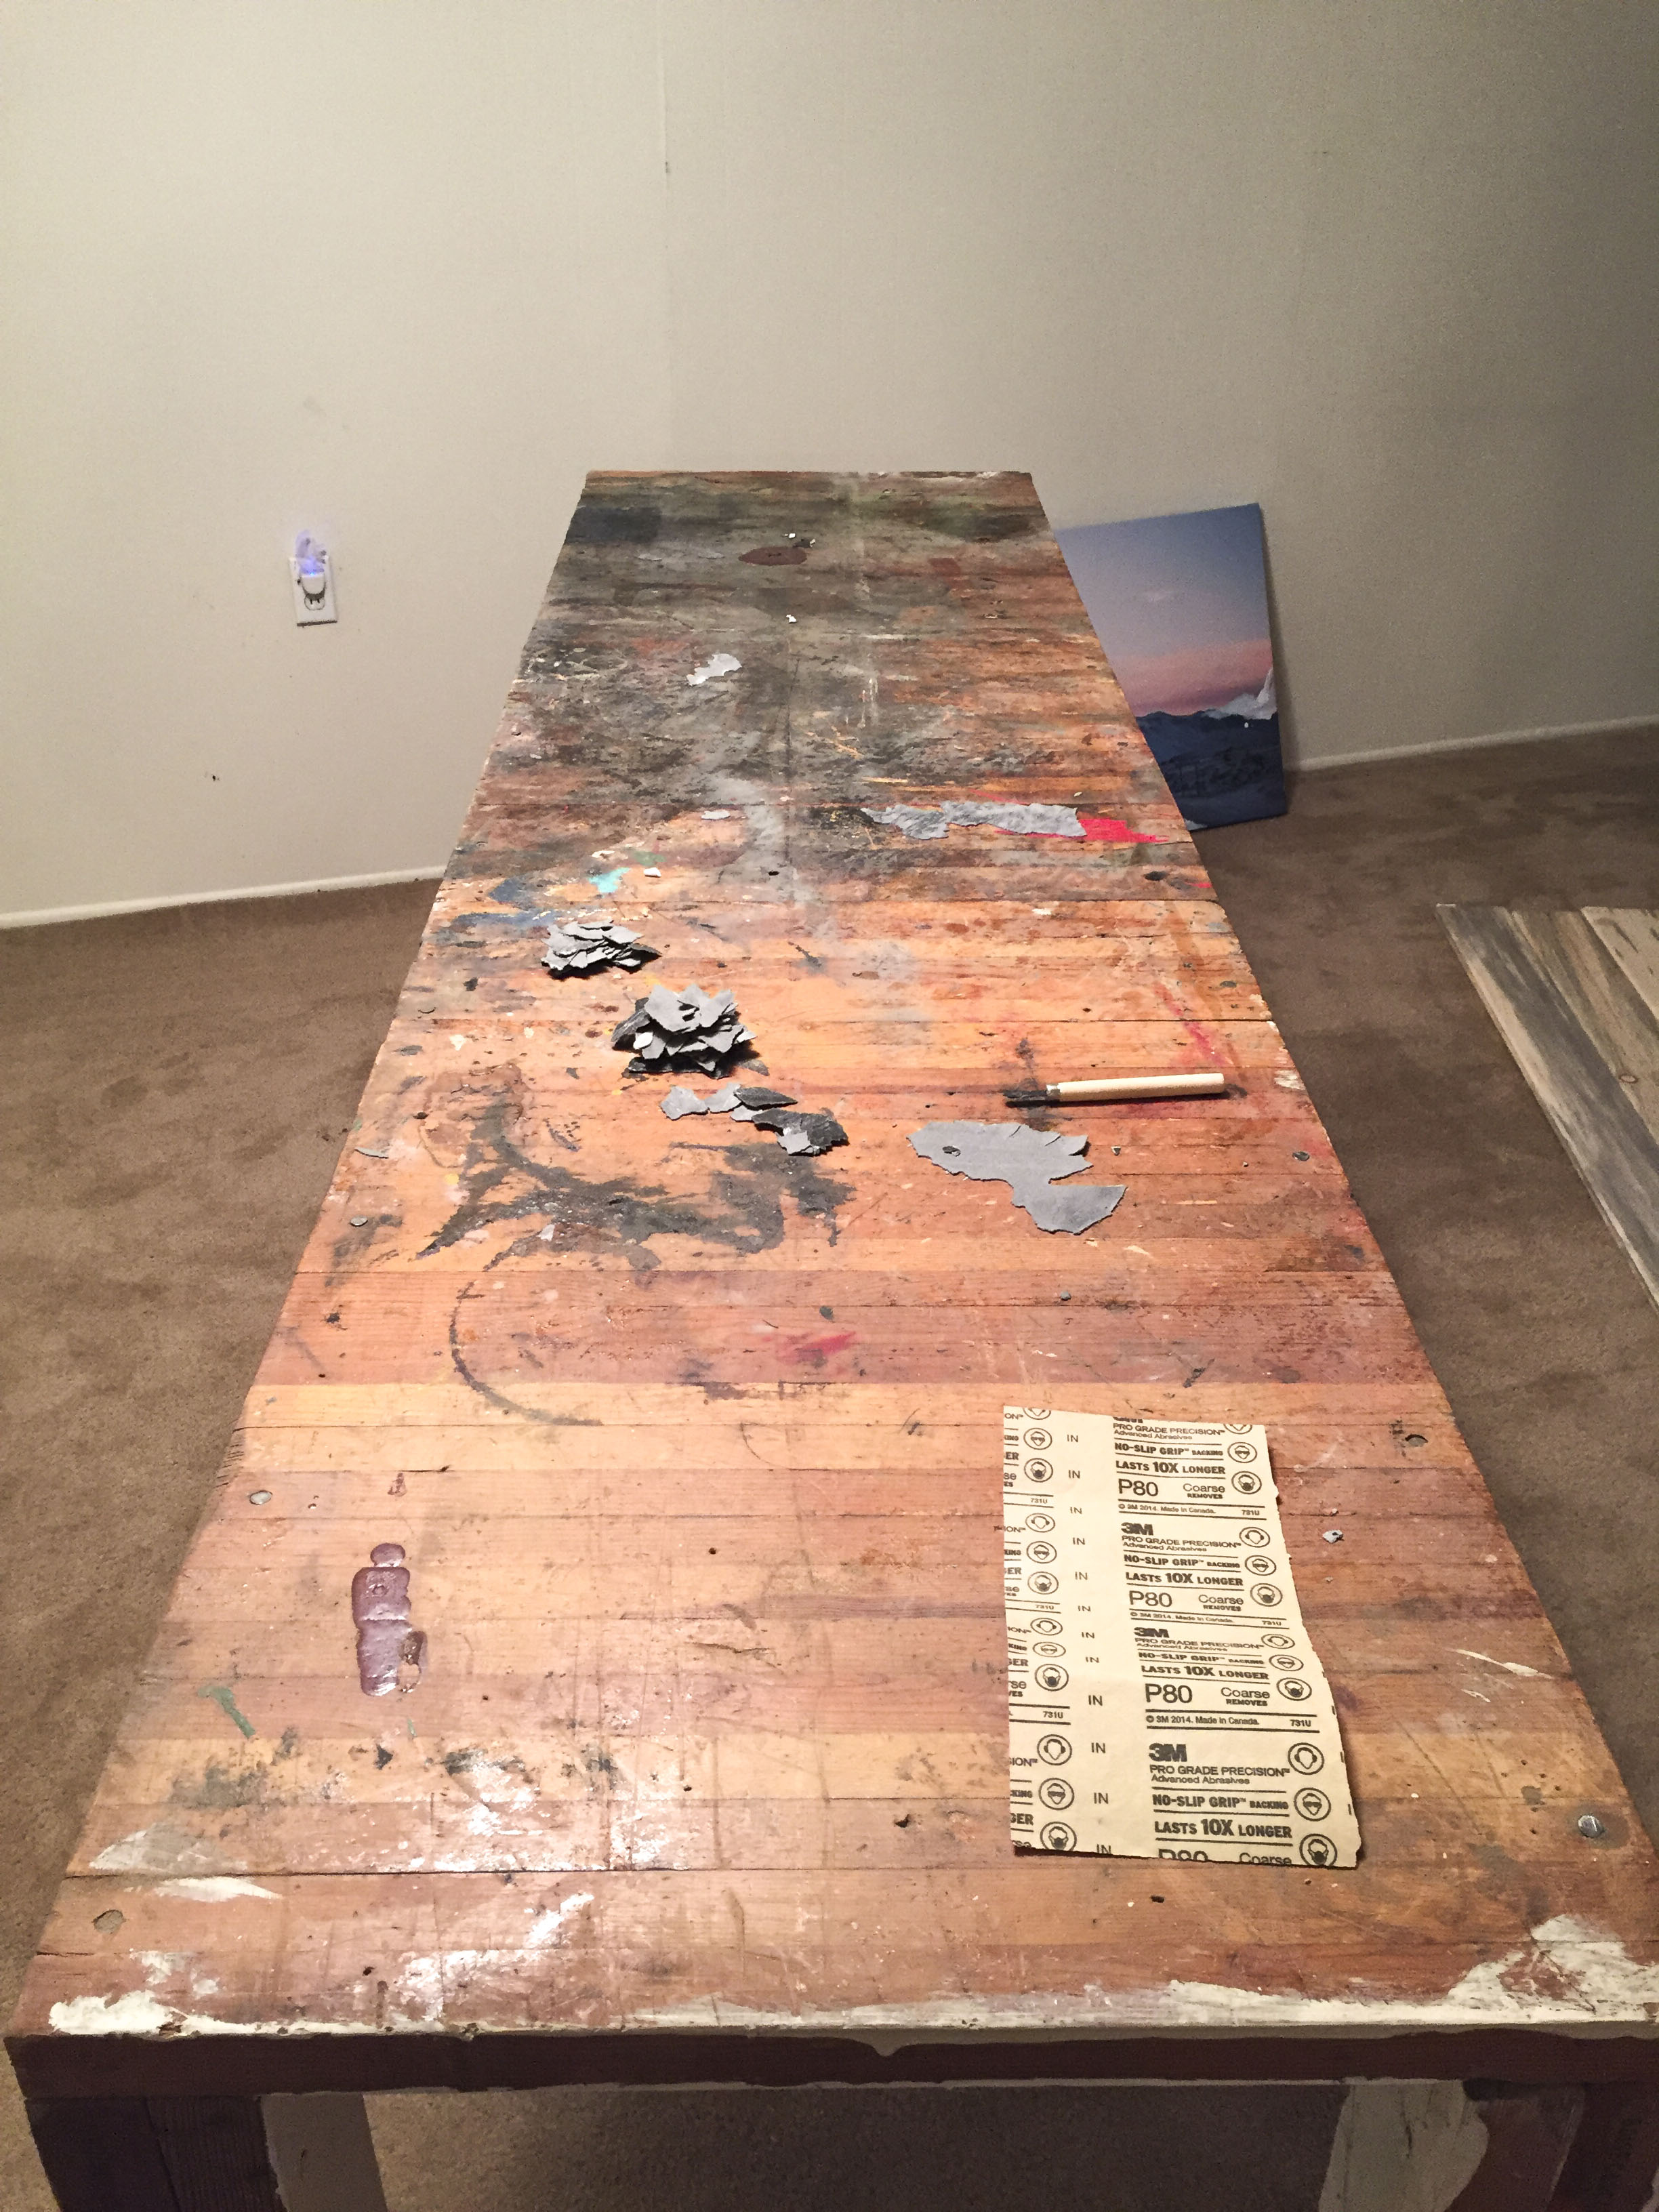
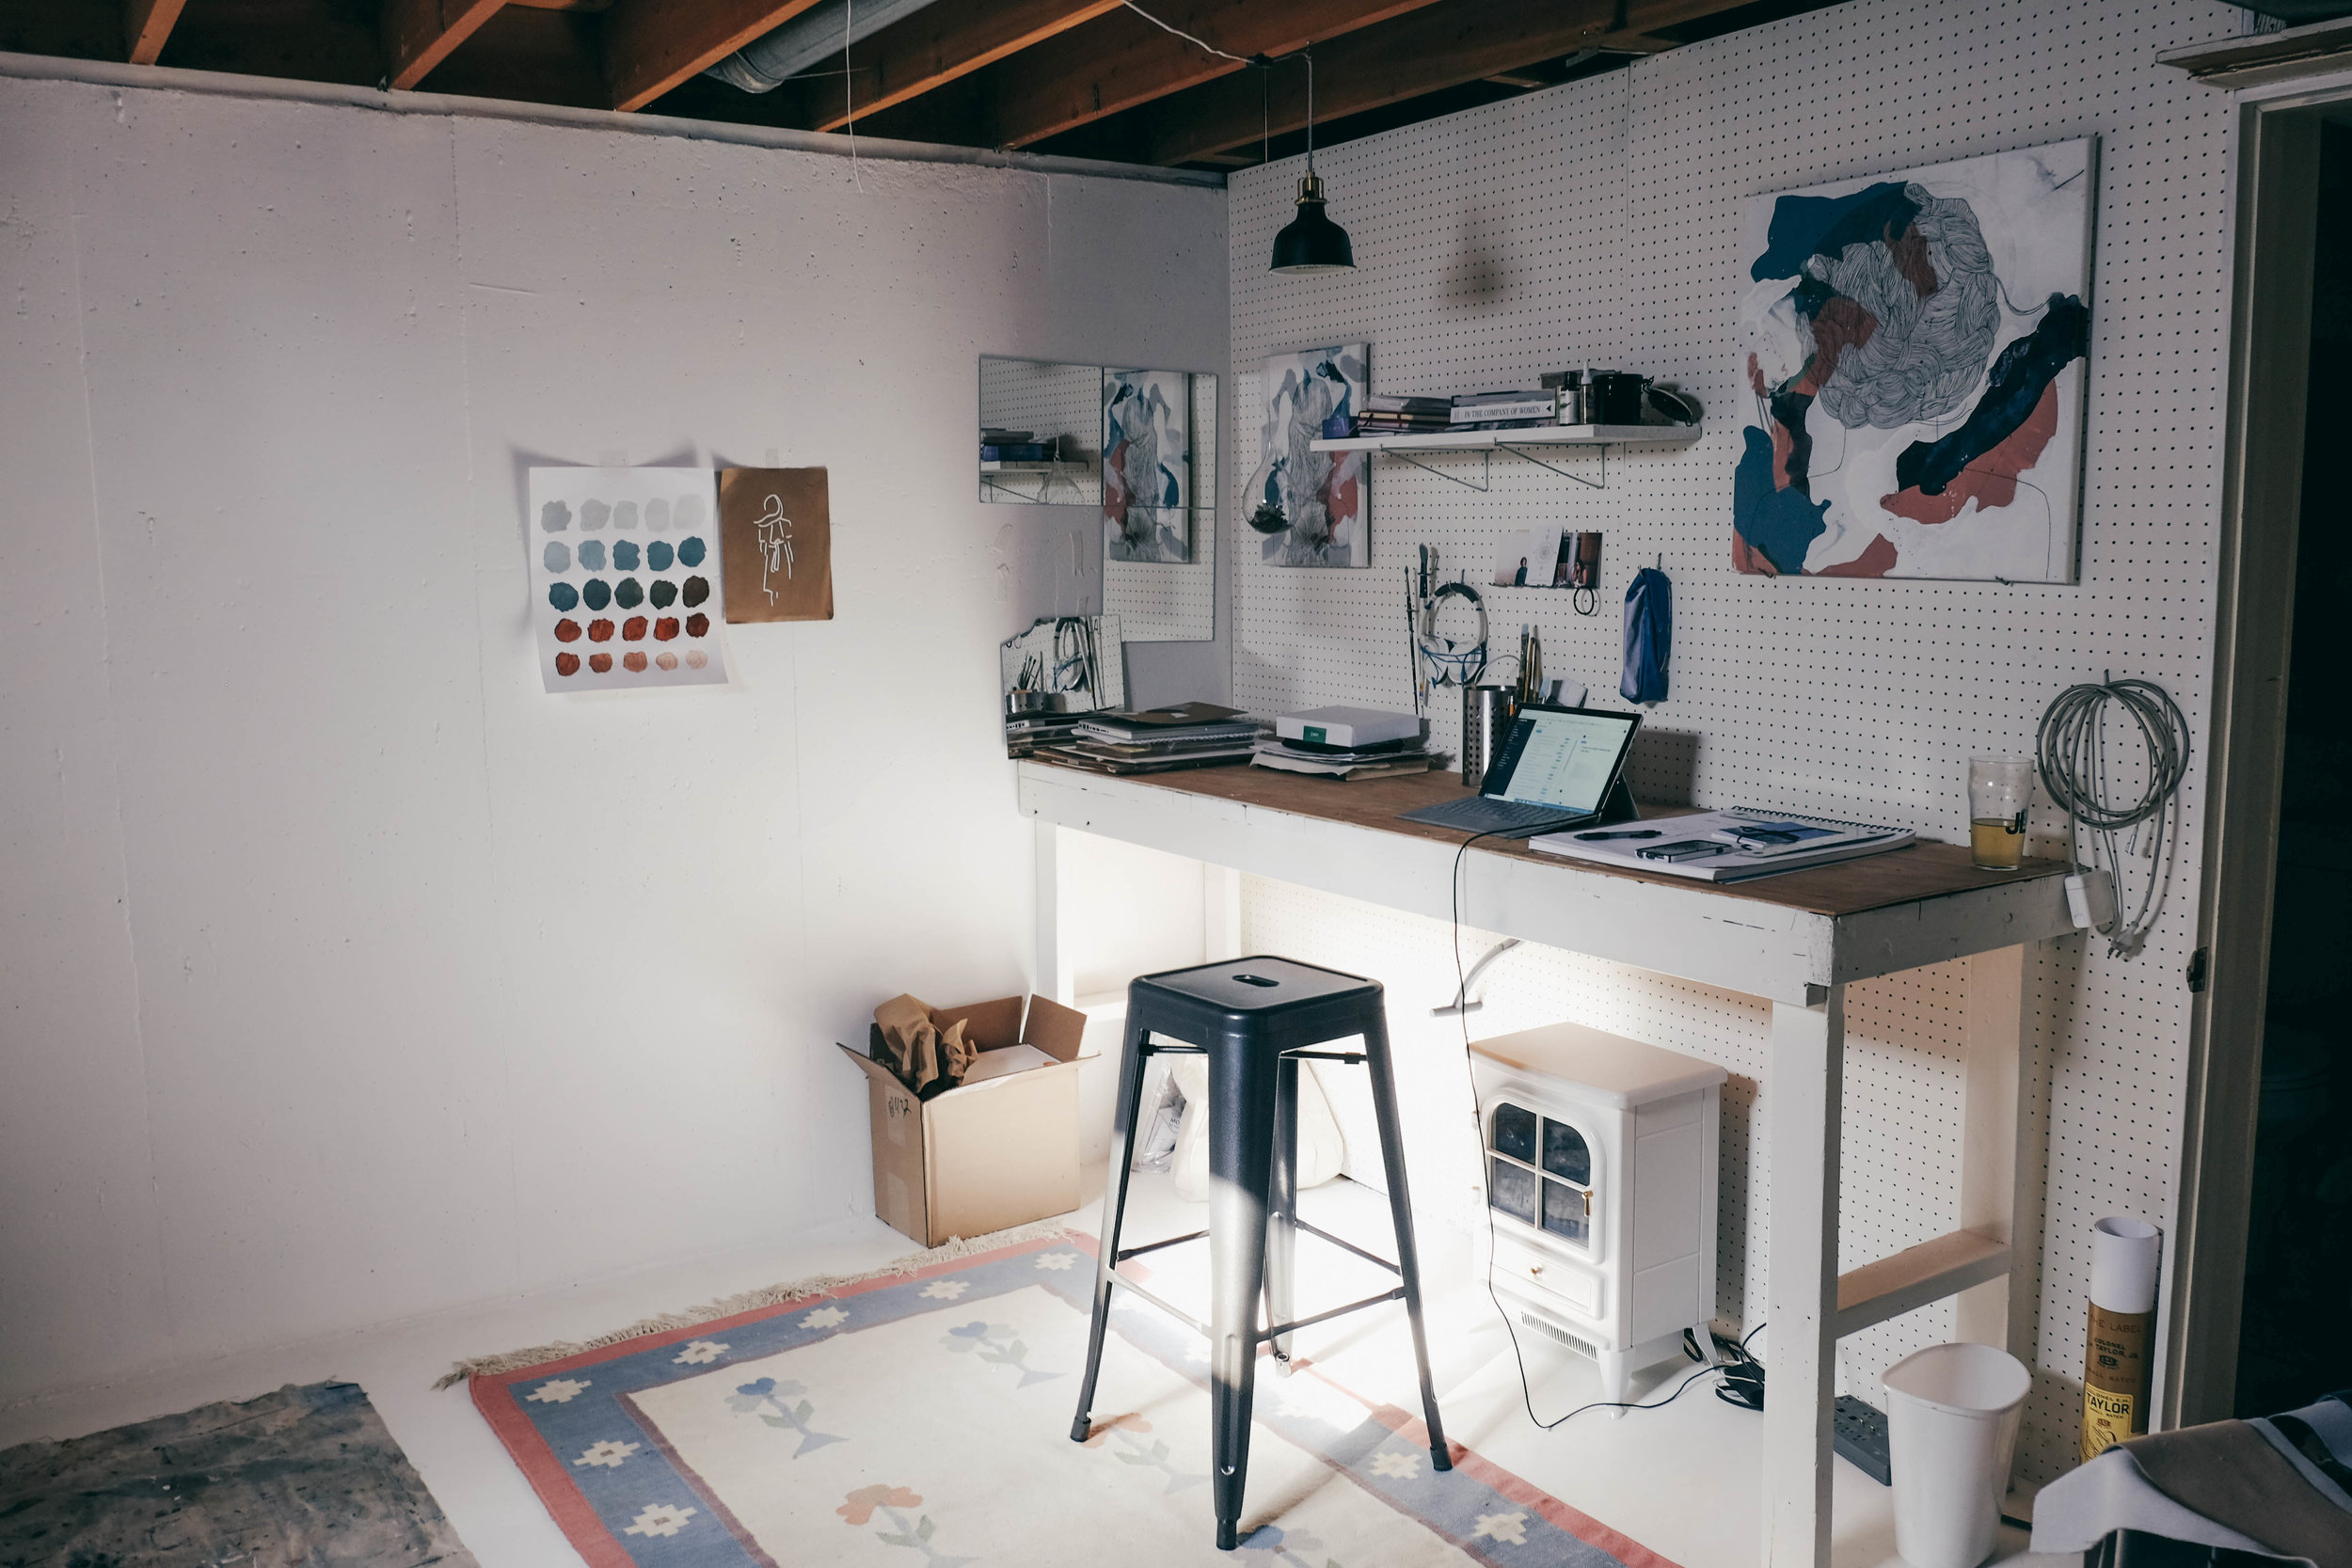
- Sanded + painted table. I also removed the laminate top and drilled on thin plywood (which they cut to size for me at Home Depot, easy!).
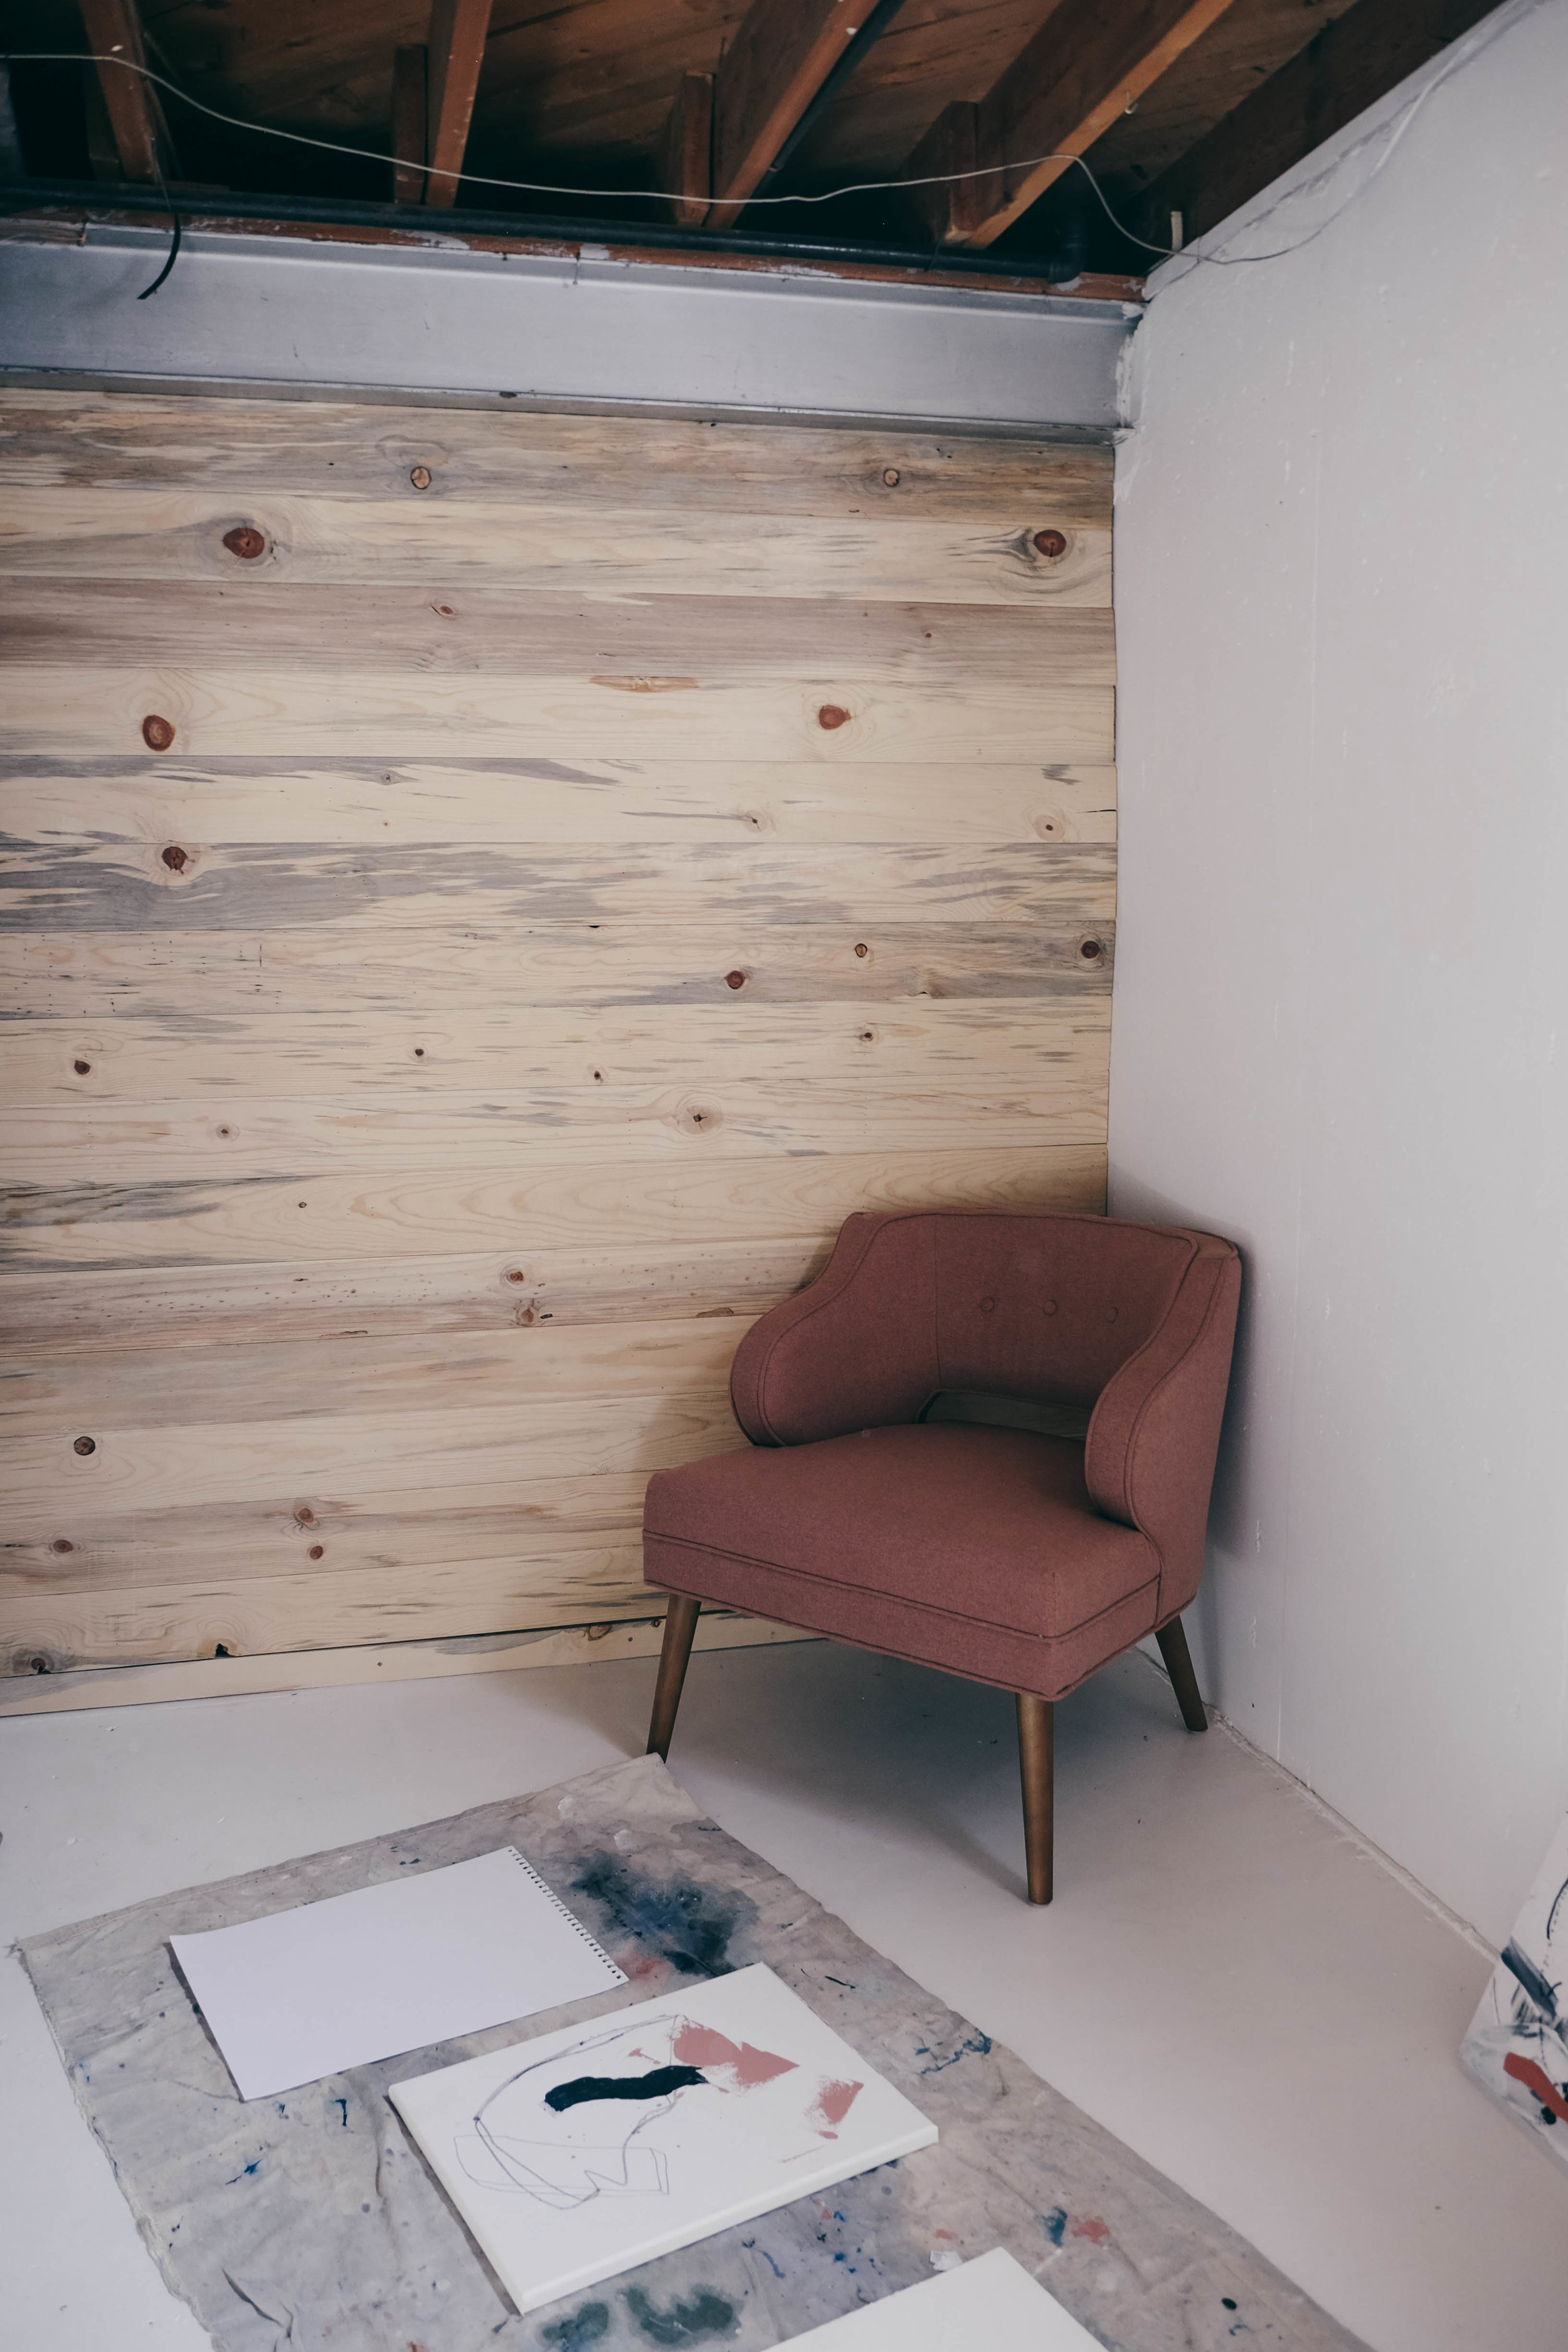
- Installed beetle kill pine wall.
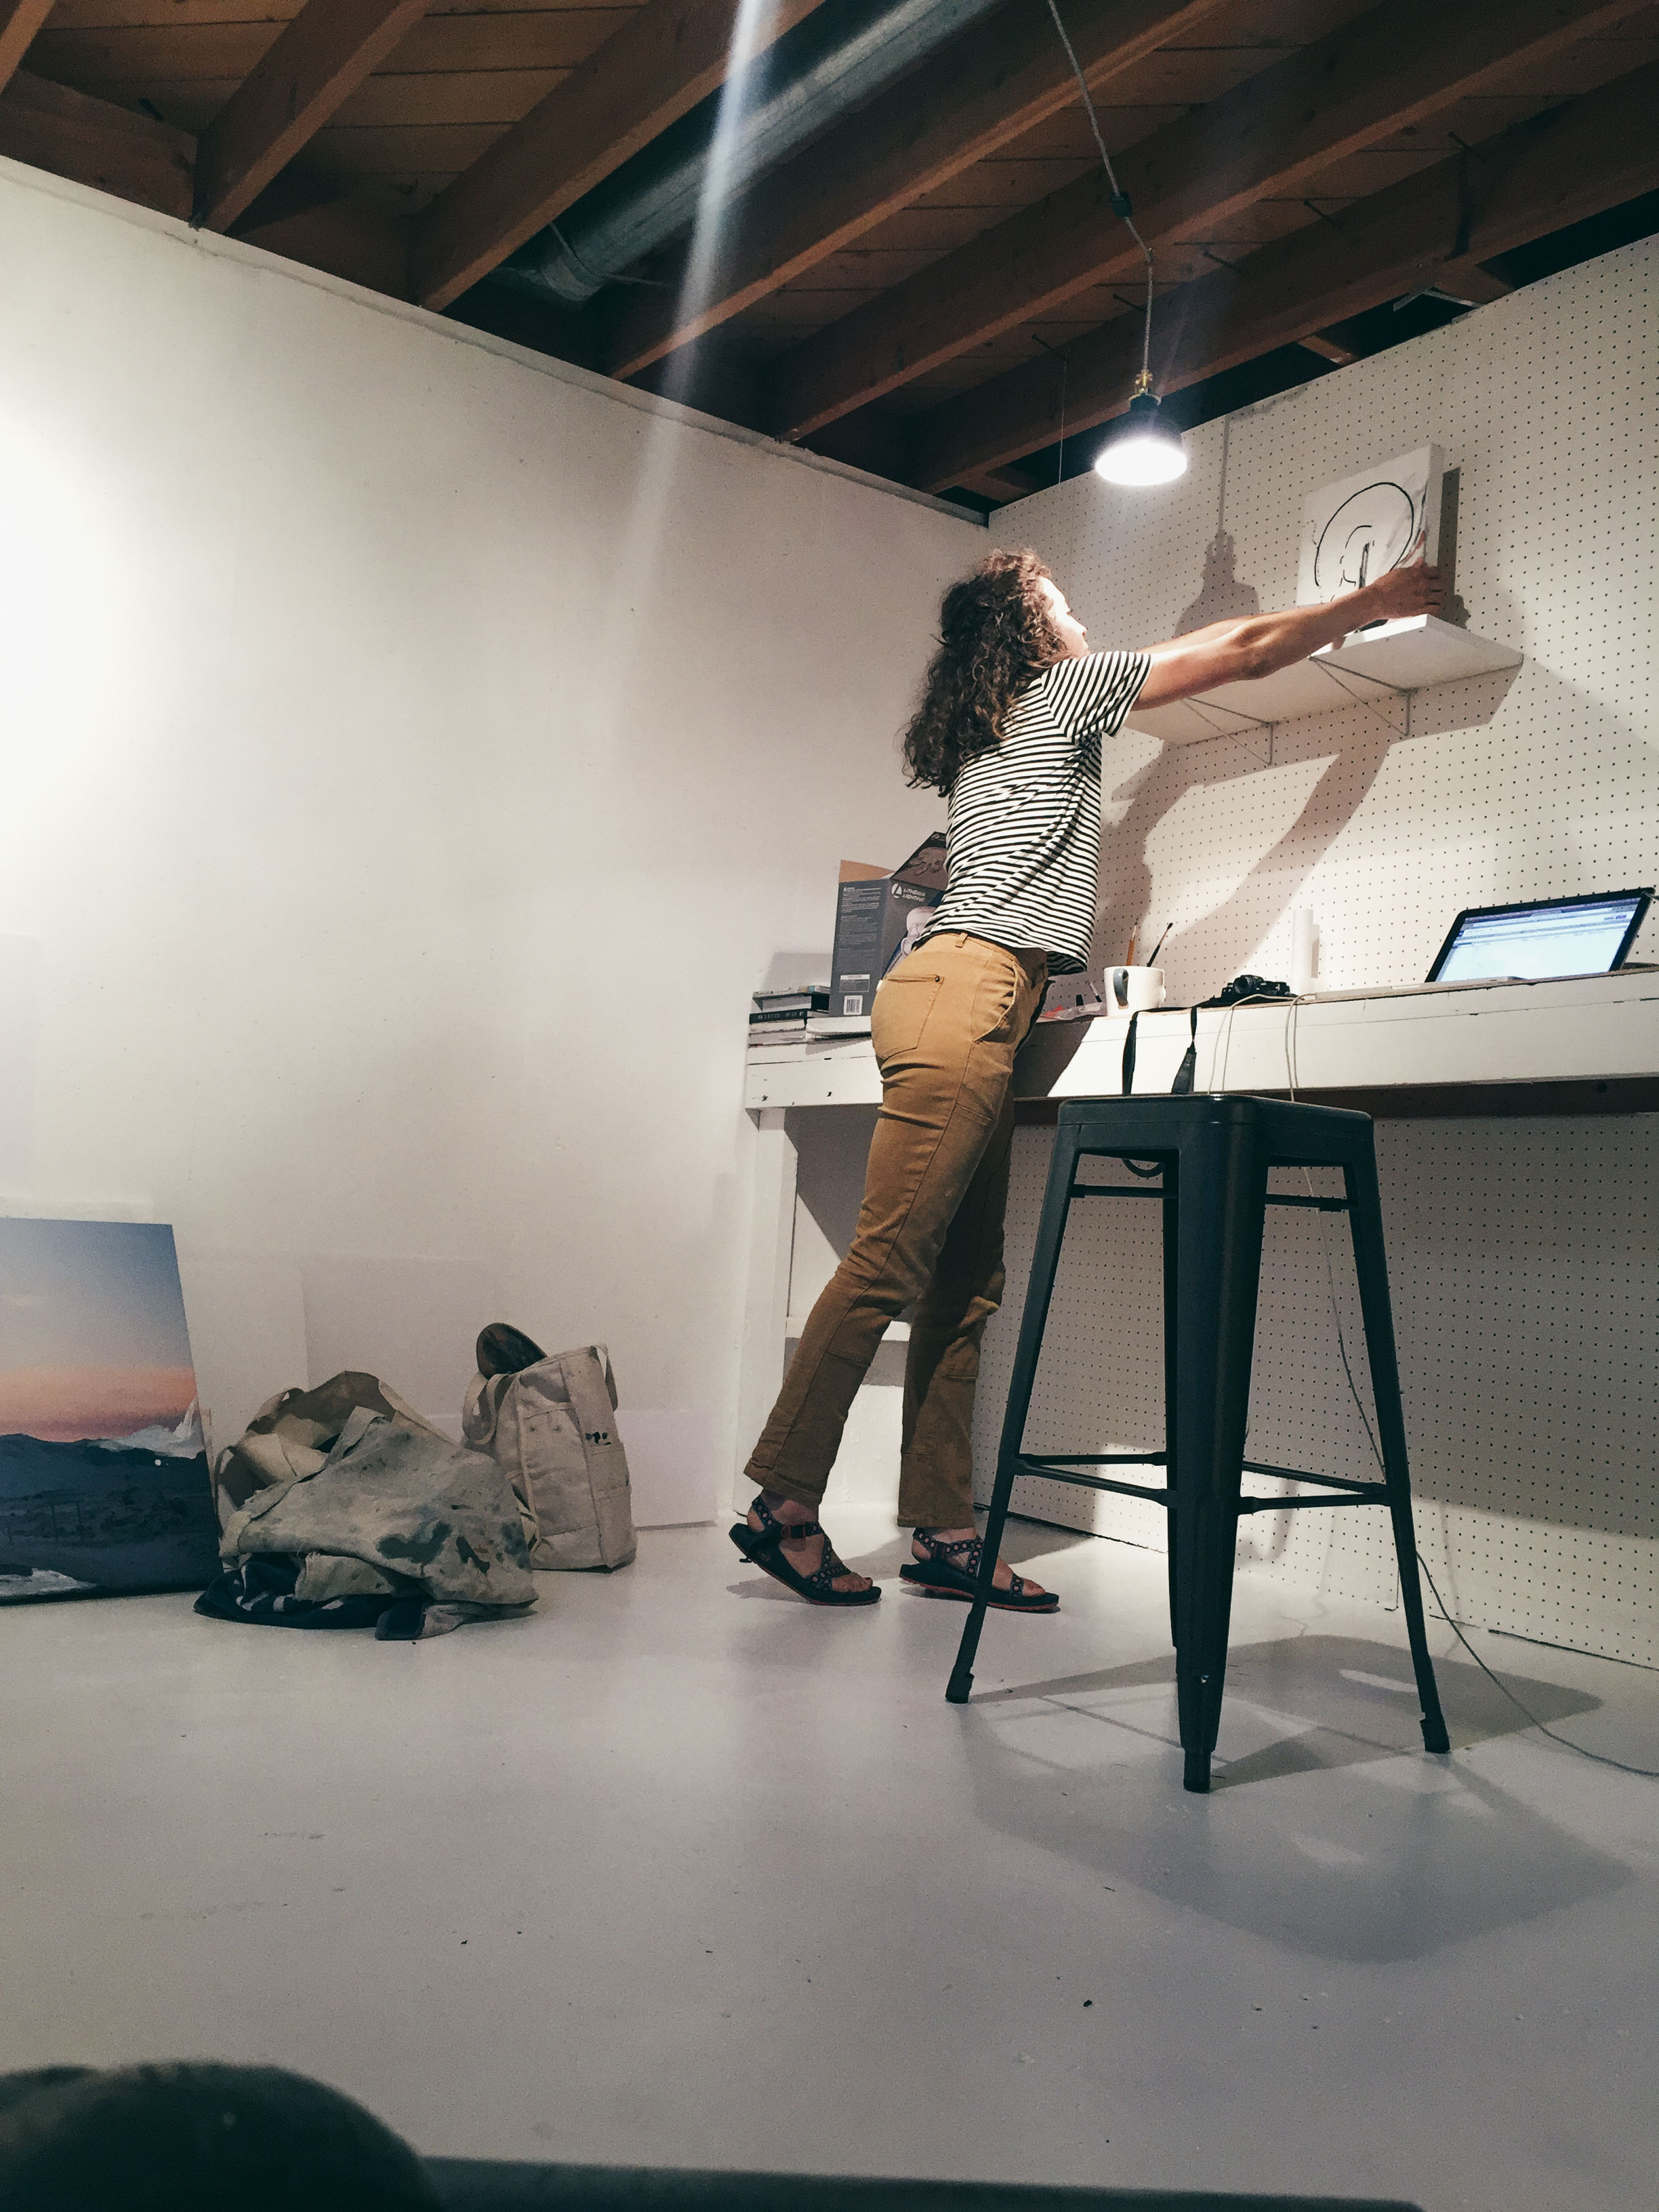
- Installed lights.
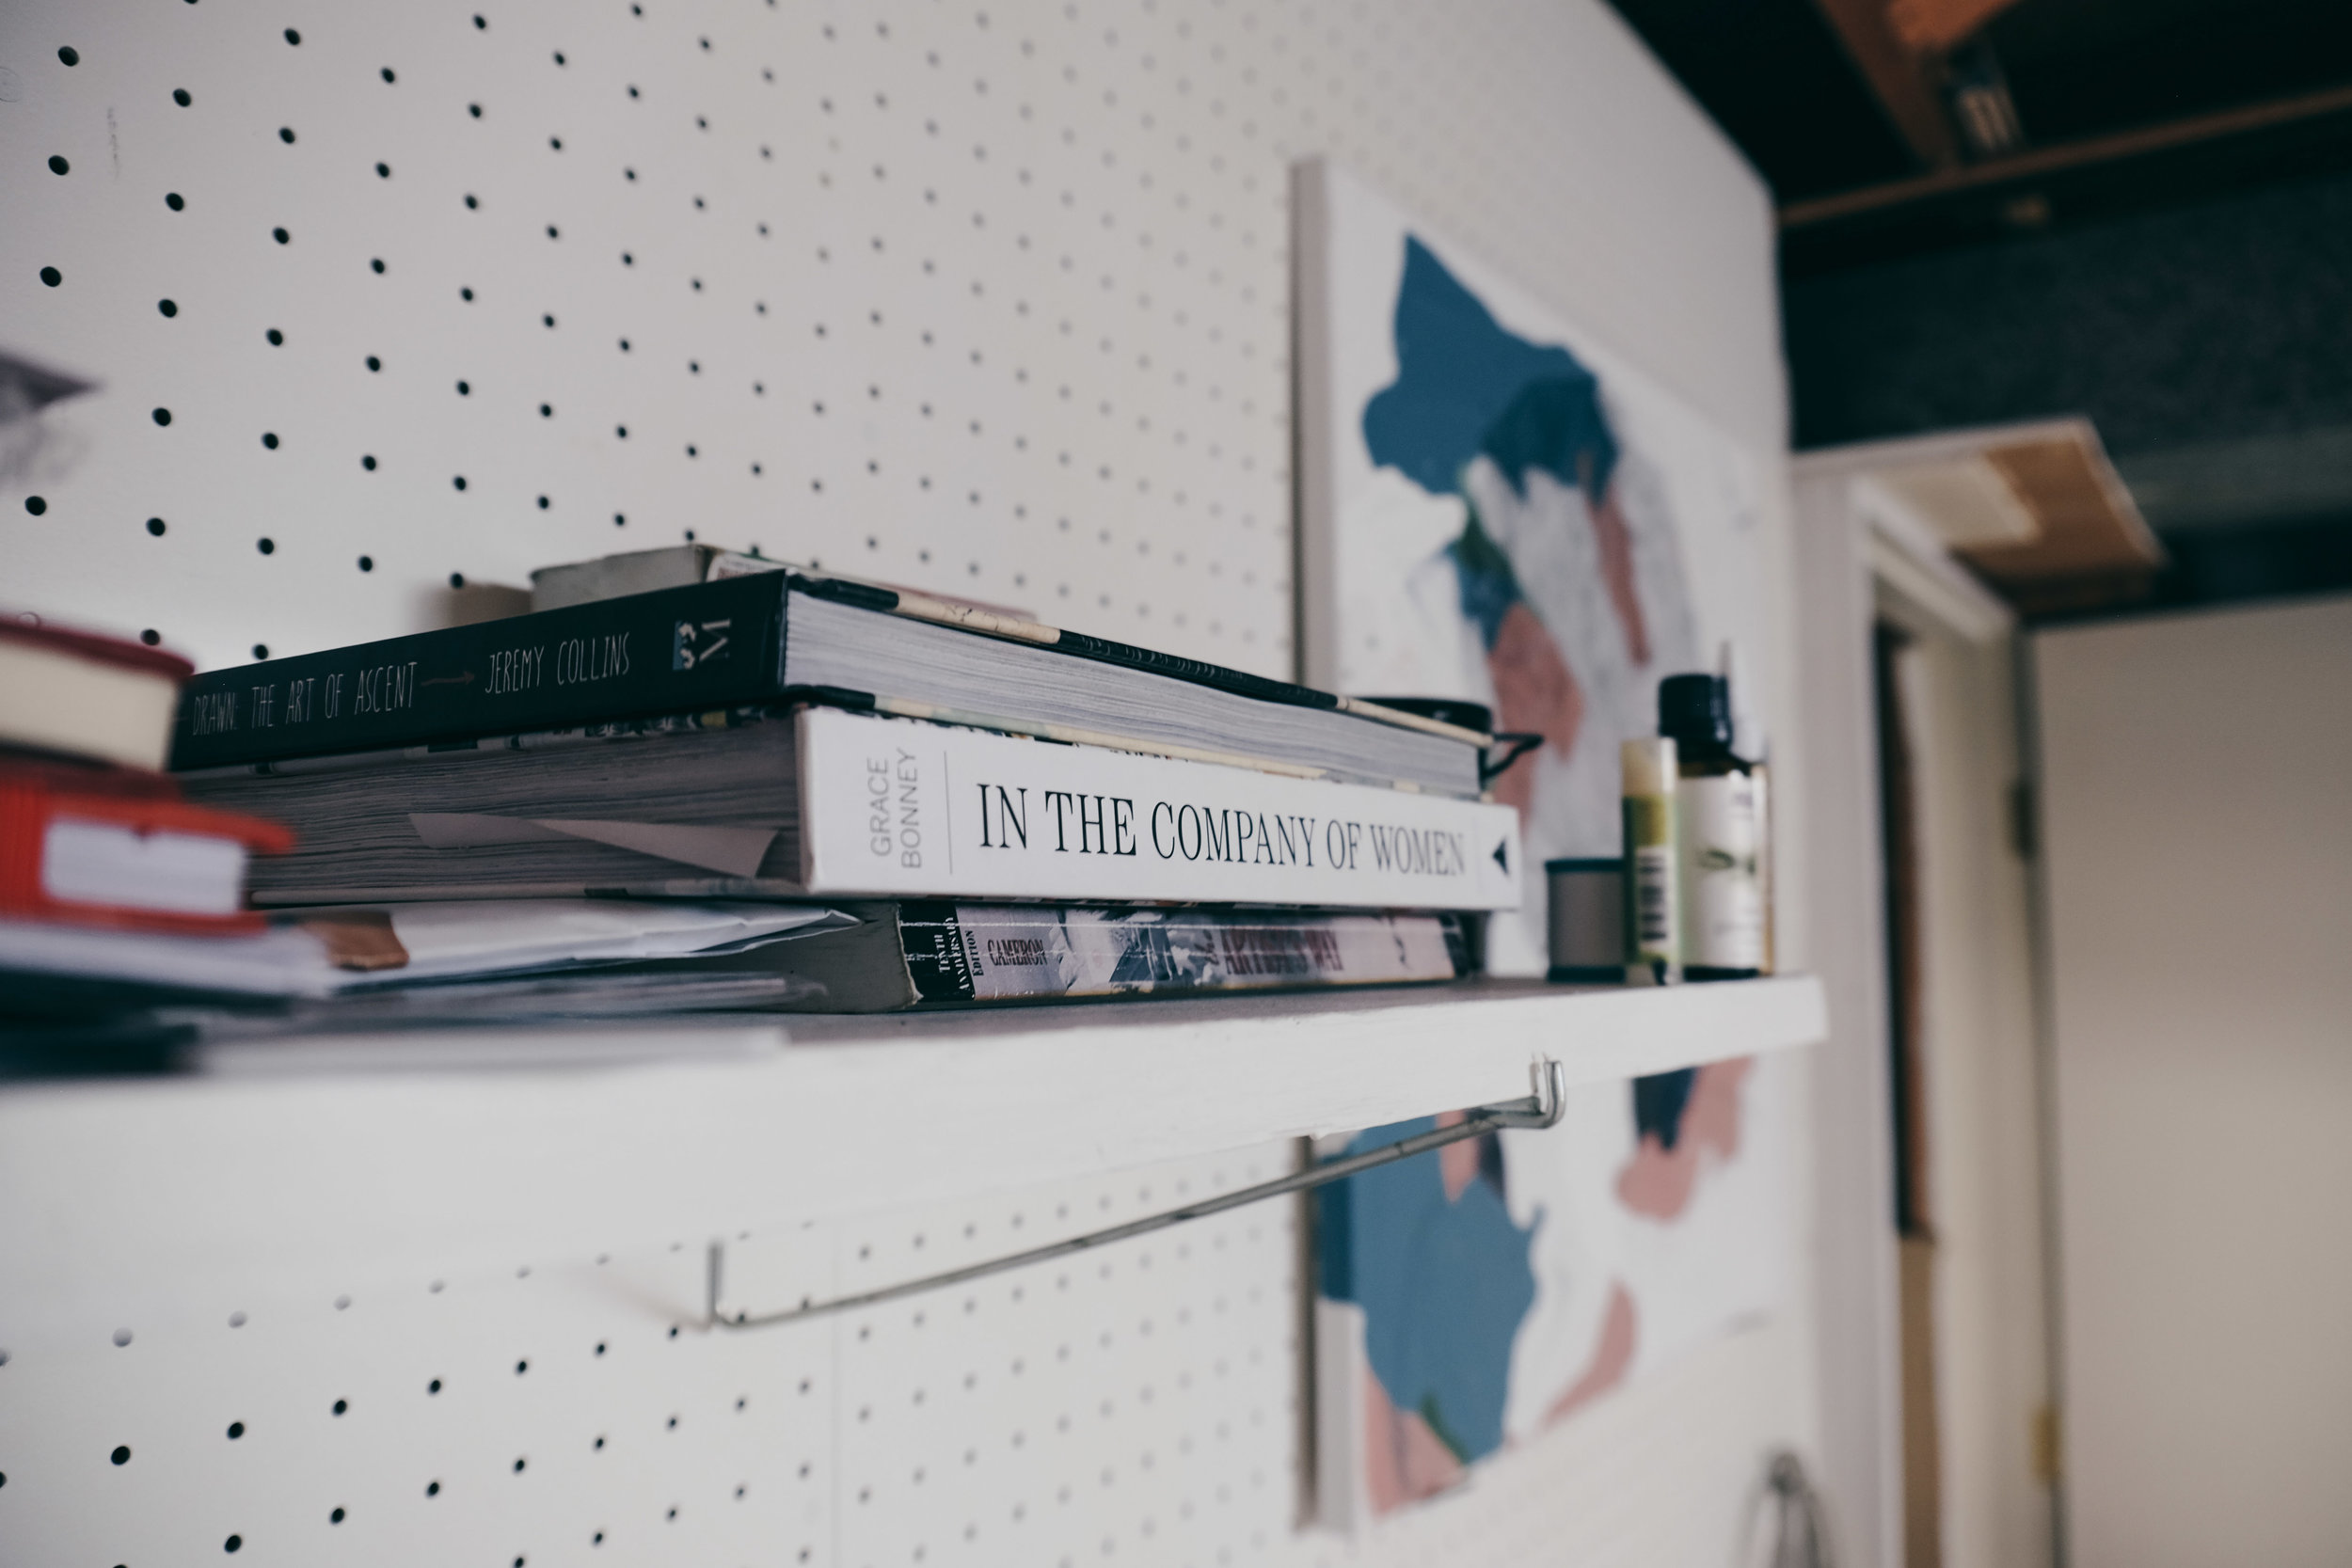
- Moved in!


Supplies:
- Broom + dust pan + shop vac
- Lots of trash bags
- Rags + bucket with hot soapy water
- Sand paper + extension pole
- Paint brushes: rollers, regular ones, and an extension pole for the rollers
- Drill, pliers, metal cutter (to remove shelf hammered into rafters by metal brackets)
- Two gallons concrete & garage floor paint (25% leftover)
- One gallon concrete protector + waterproofer (75% leftover
- Thin plywood panel cut to size (I forget the exact depth)
- Handful of screws for the plywood table-top
Decor/hardware updates:
- Maximus 3-Light Track Lighting
- IKEA LOTS Mirrors
- Metal stool from Marshall's
- Airplant + planter from local shop Etcher's Nursery & Garden
- Beetle Kill Pine Tongue + Groove planks from Home Depot
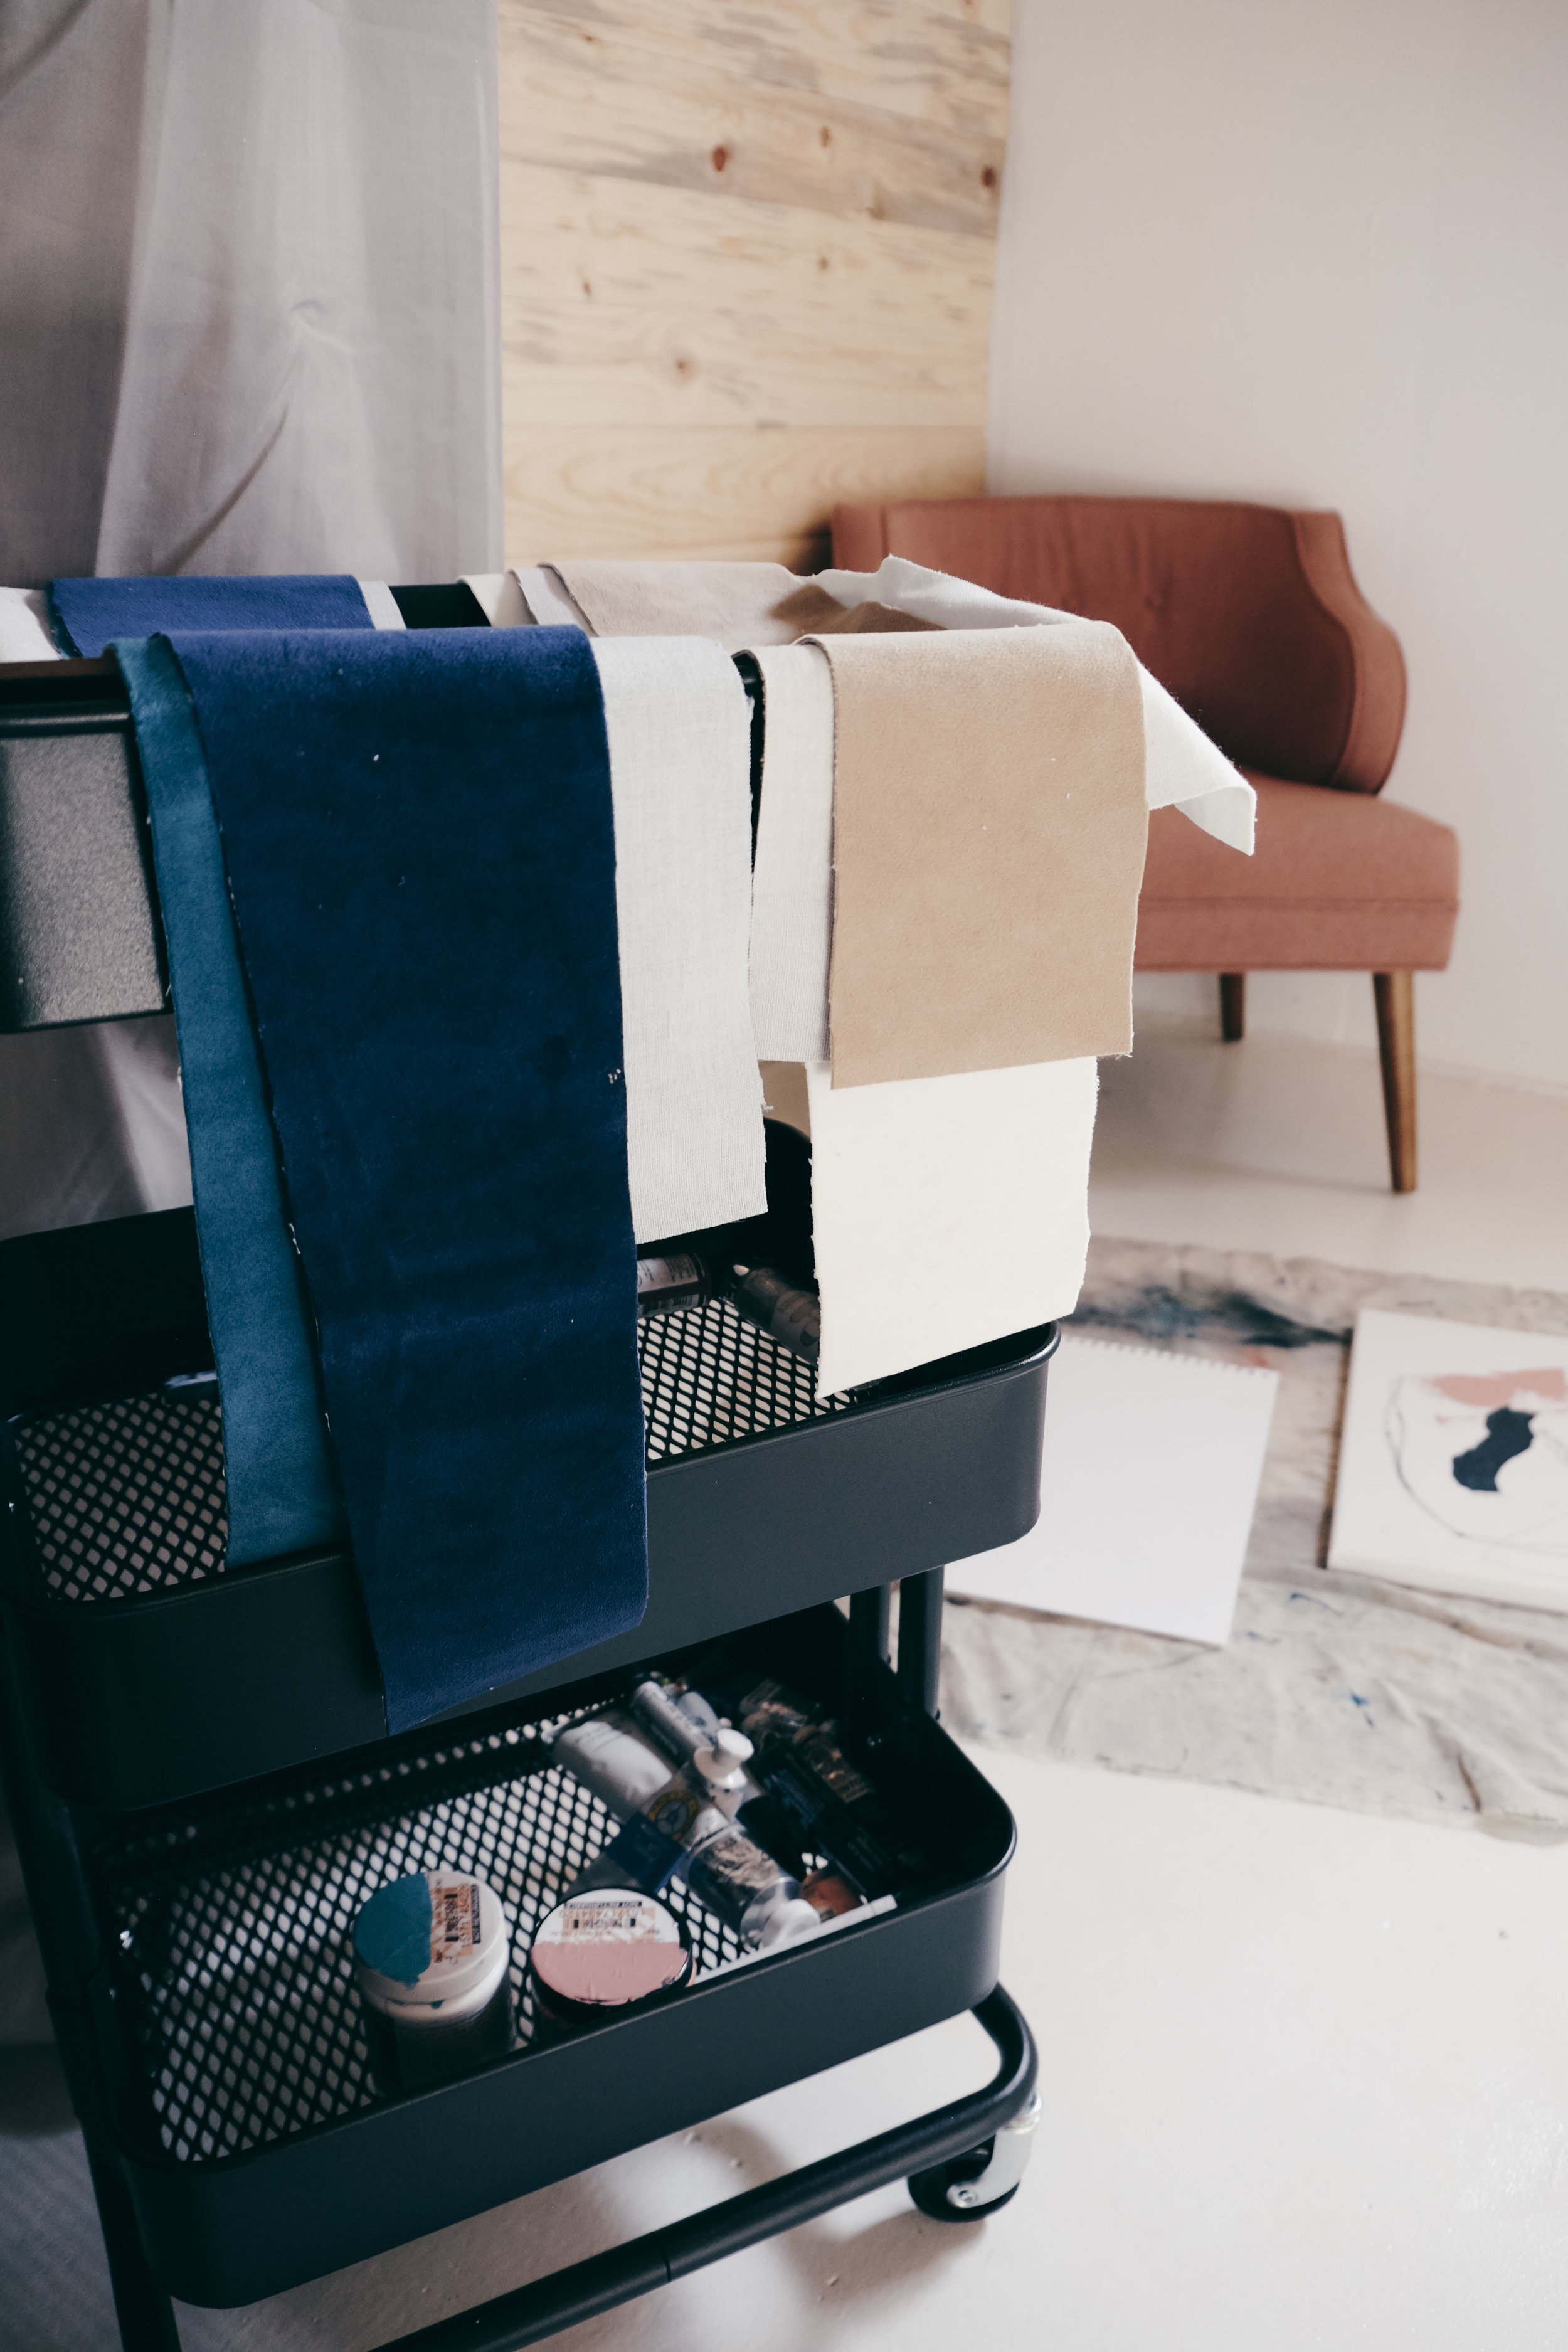
- Rose Pink Tyley Chair

And that's it! I'm so happy with how it's turned out. Although one day I'd love to have a more airy, light-filled home studio, I love taking what you've got and making the most of it. Whether it's a dark old room in the basement or an empty corner of the living room, I always recommend others have a dedicated space for creative work. It's a game-changer!
Please feel free to comment below with thoughts, questions, ideas!