

Penny the Previa
This is the first post in a series about how I am building out my '97 Toyota Previa to live and travel around North America in for the next 3-6 months. There are tons of helpful resources out there besides this one. My advice would be to do your research and at the end of the day make choices that are right for you and your van. Oh, and enjoy!
All repairs are finally done, and Penny the Previa is in excellent working condition. She's almost ready for our #atwildwoman adventure. Now comes the fun part.
THE BUILD OUT: PART ONE
I now have everything I need for the interior shell — the walls, ceiling, and floor. Here's what I got from Lowe's:
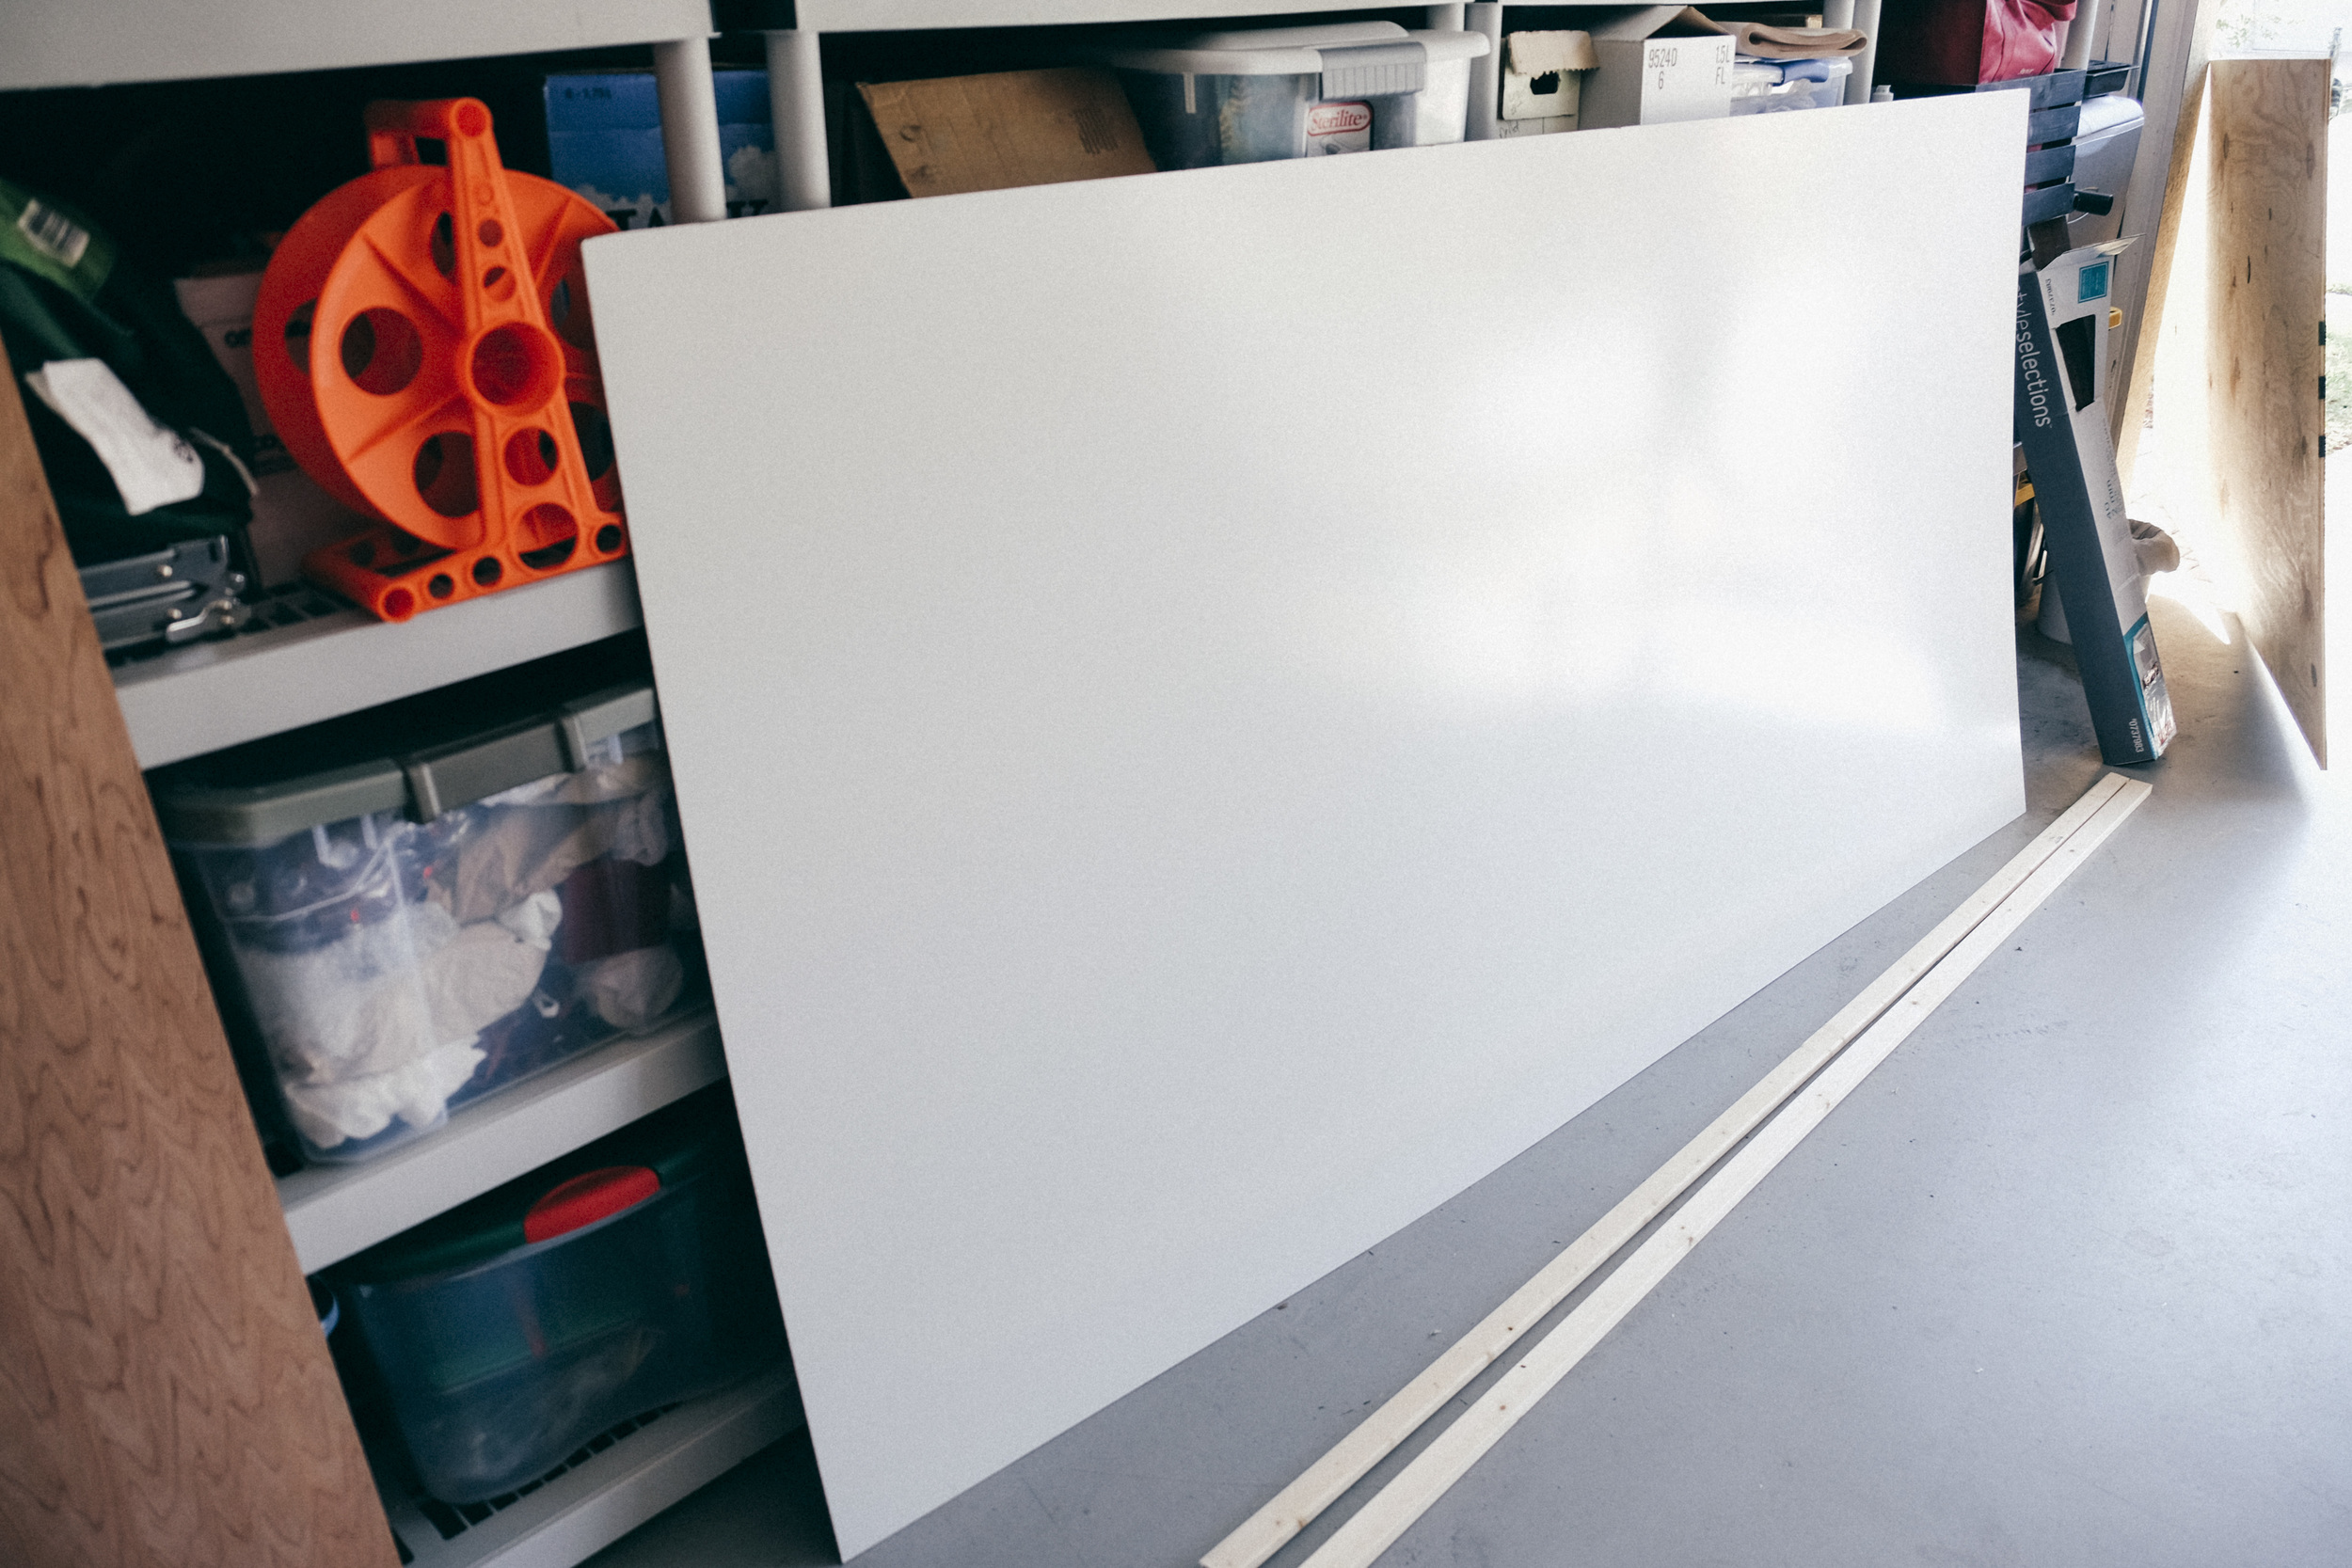
- One 4x8' piece 1/8 inch white panelboard for the walls — might need more
- Three packages of 8' long wainscoting wood panels for the ceiling
- Six 8' long furring strips
- Self-tapping screws (wood to metal)
- Regular screws just for wood
- 40 square feet of oak laminate vinyl flooring
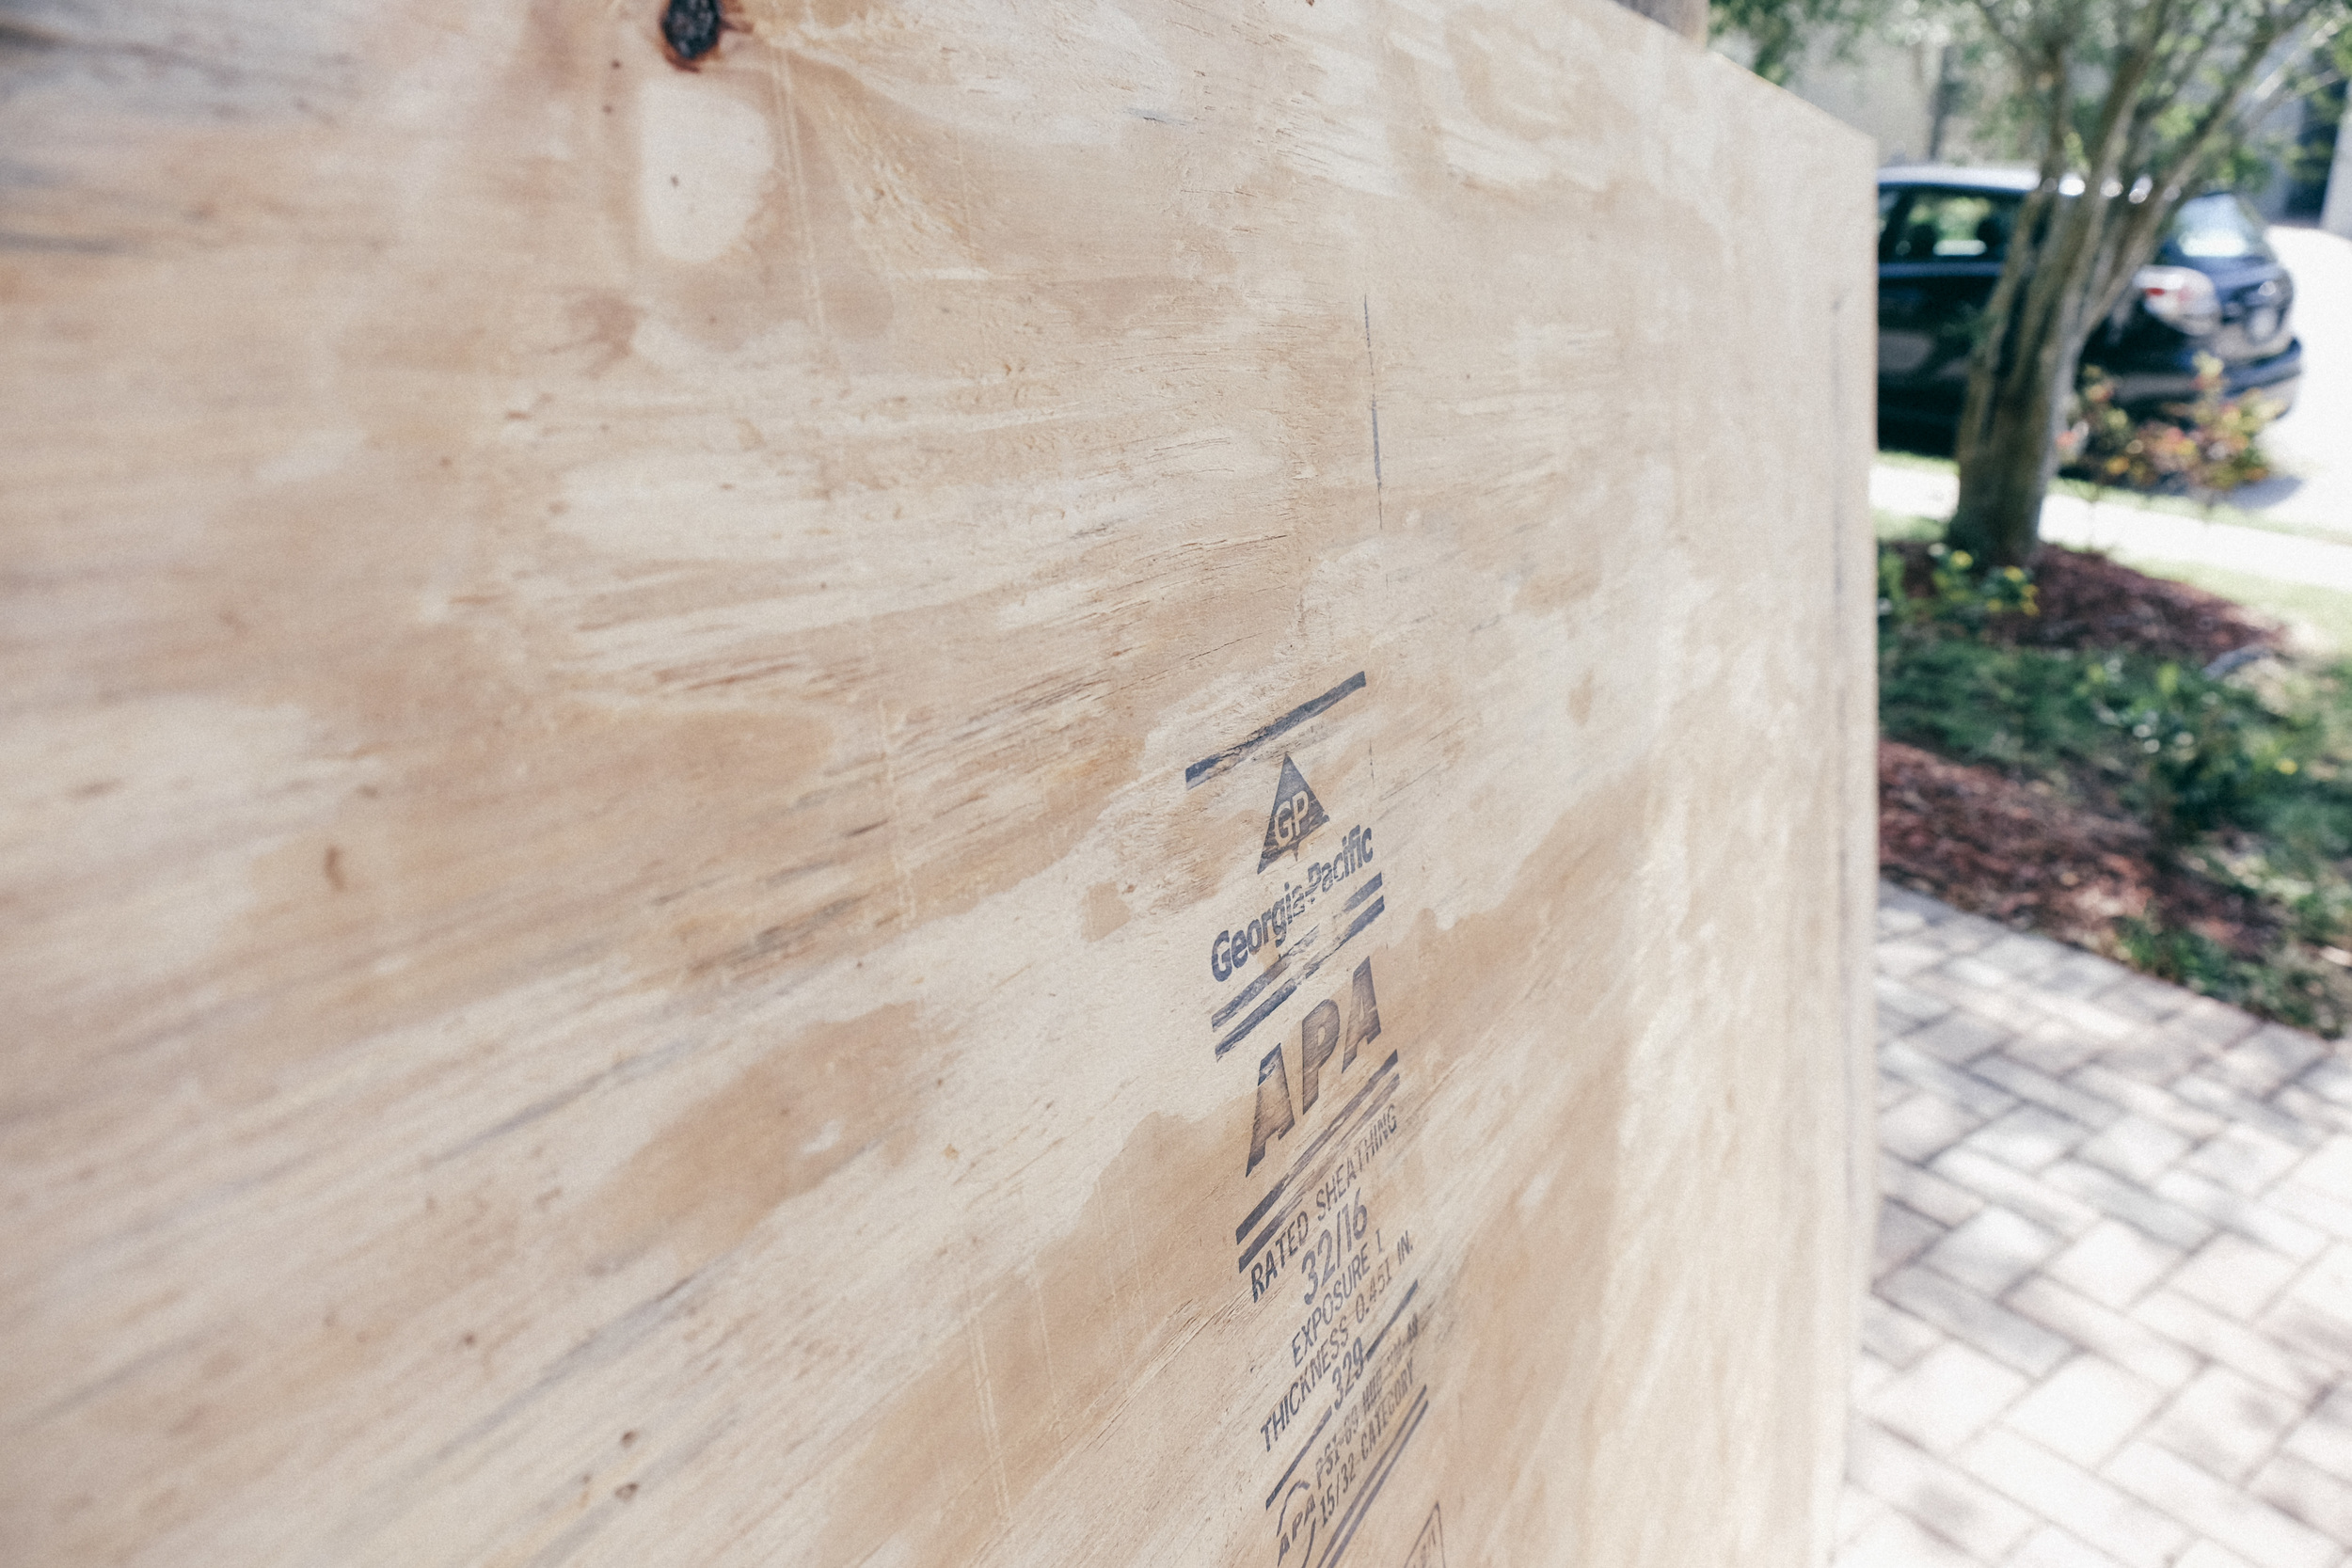
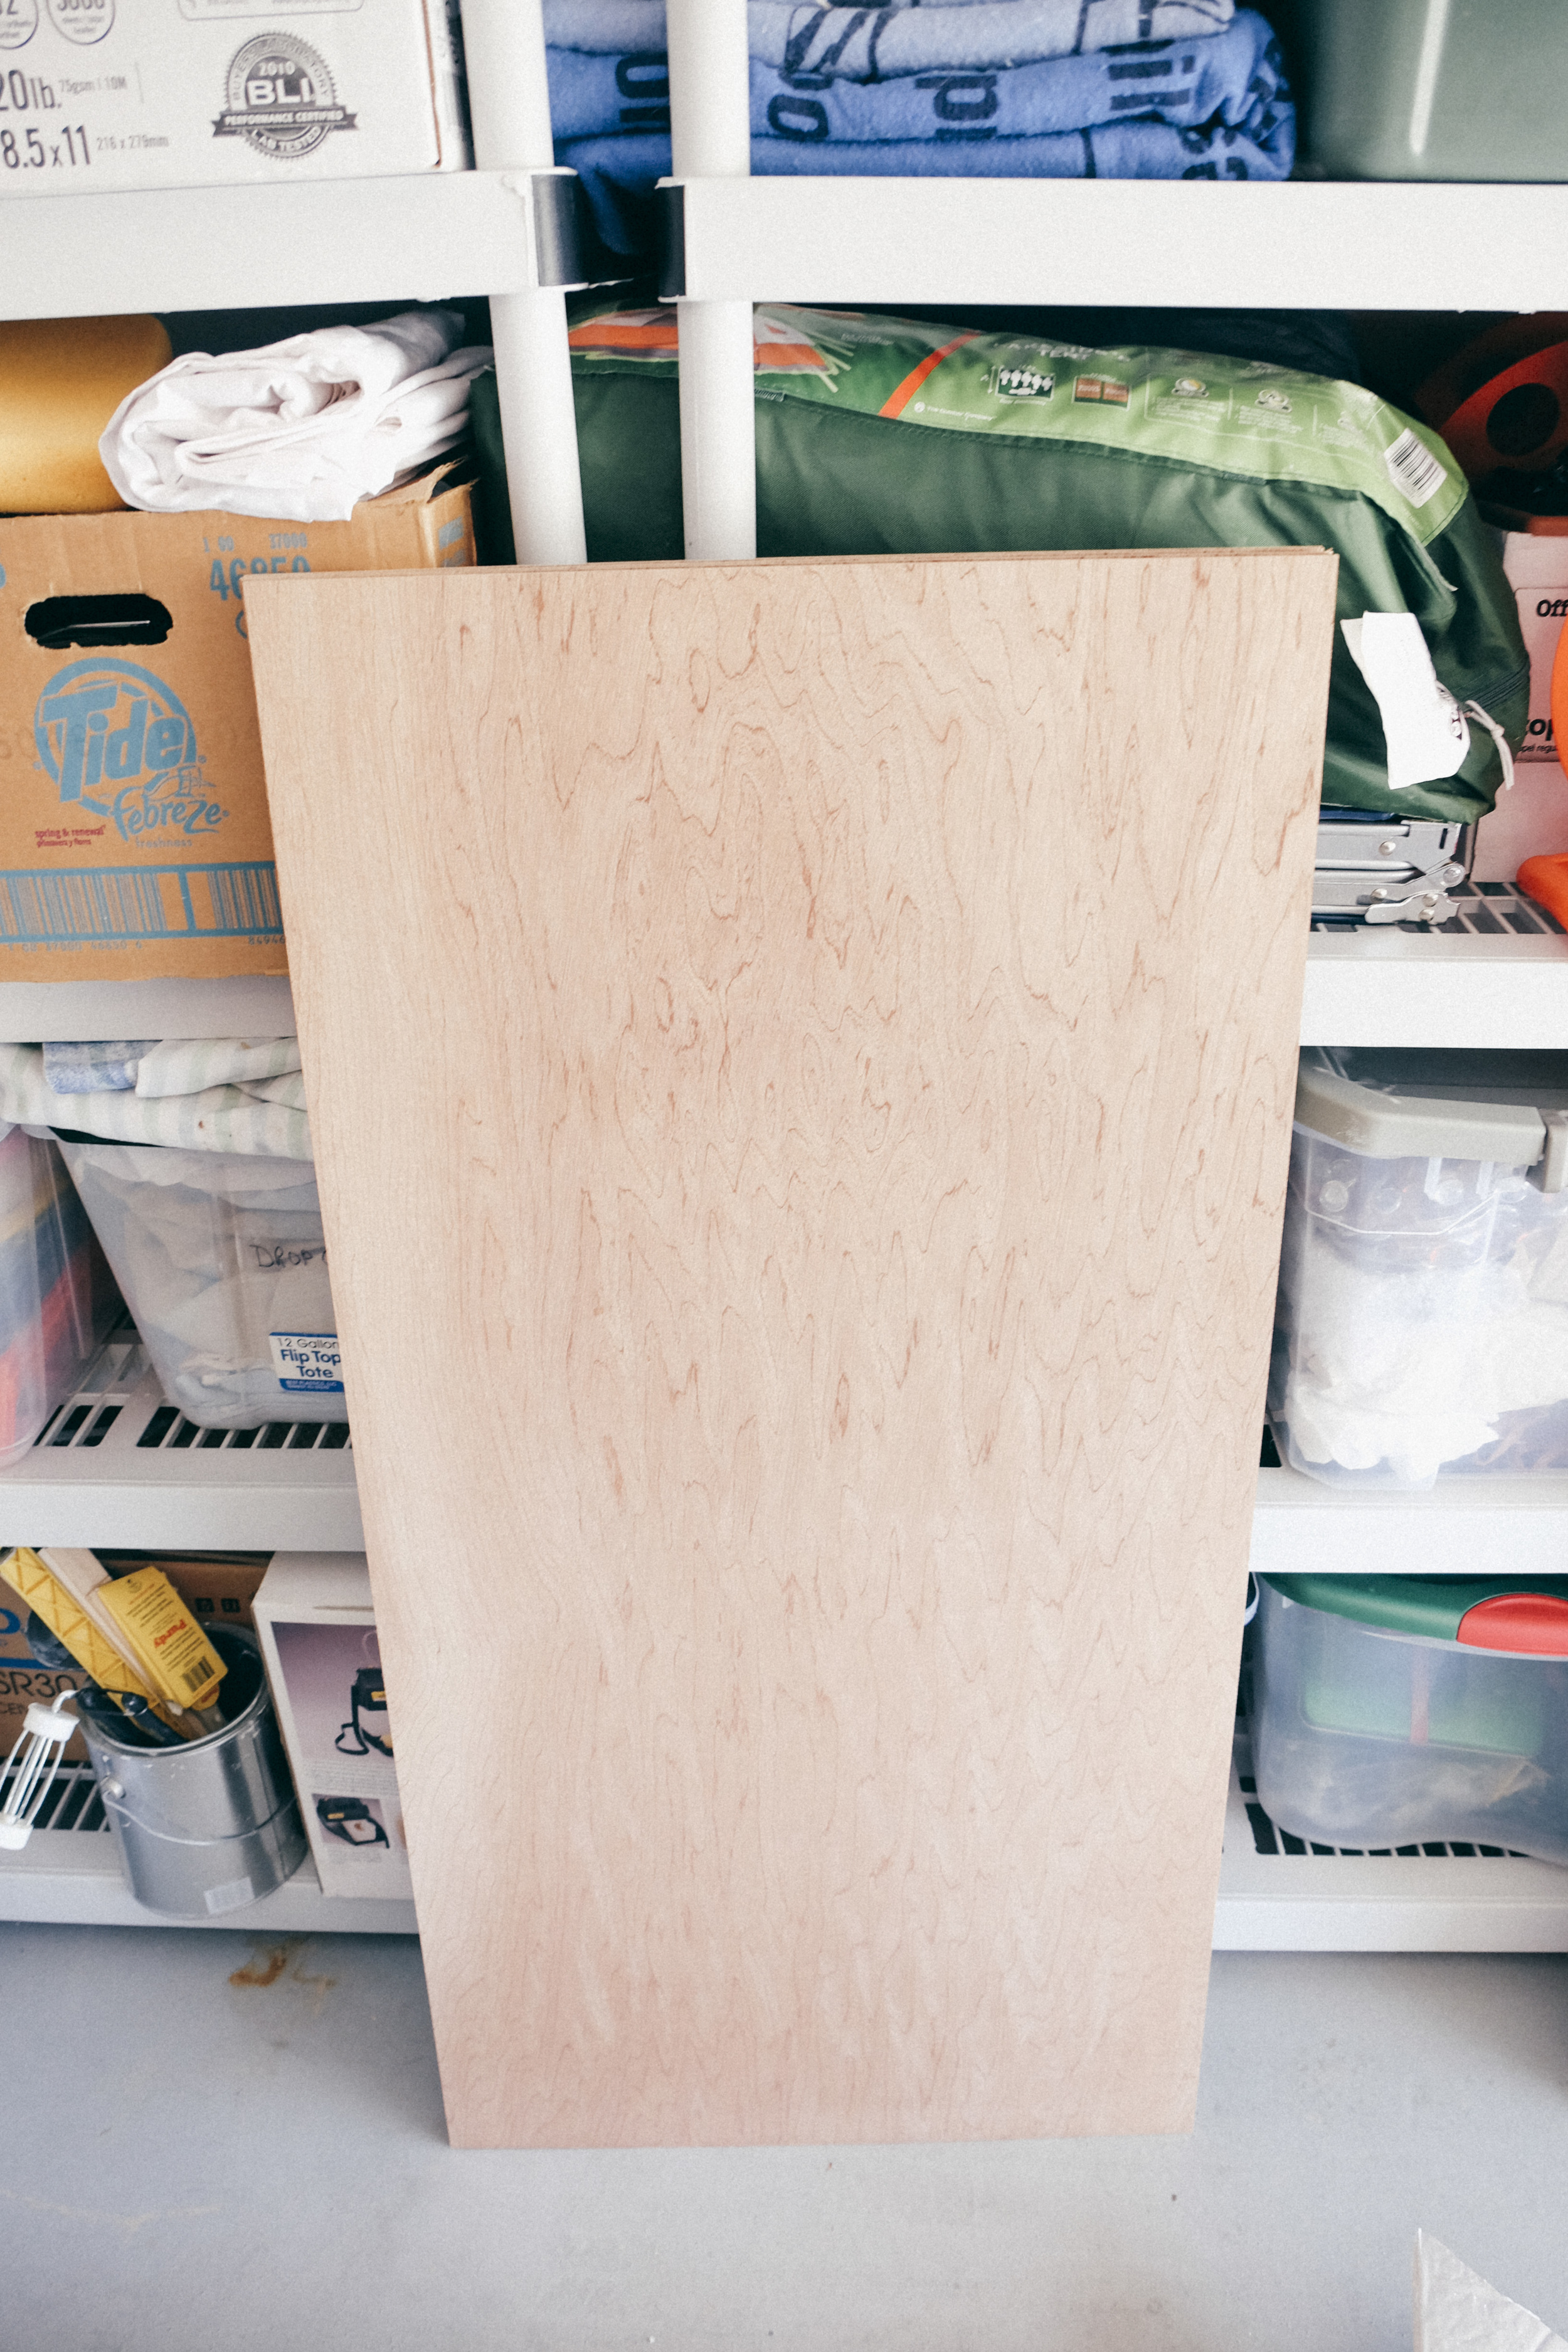
- One 8x4' sheet of plywood for the vinyl to sit on for flooring — will need more of this probably
Grand total: $152.31
I also checked around at Home Depot and a Habitat for Humanity Re-Store. I found Lowe's to have a greater selection and to be more affordable, and unfortunately the Re-Store didn't have enough of any one material, so to Lowe's I went.
Prior to this I also bought a roll Reflectix (to reflect heat from entering the van walls), a couple big sheets of polyiso foam insulation, and some spray adhesive — make sure you get the strongest kind that can withstand heat and moisture.
Before diving into all this I spent weeks researching and realized there is a LOT of advice on this process, and a lot of it conflicts. Just use your common sense and make sure you spend time IN your van figuring out what will make the most sense for it.
My goals for this project are to keep the costs low, the build-out fairly simple, and to create a really cozy space I will love to call home.
PART 1: INSTALL REFLECTIX, FURRING STRIPS, AND INSULATION
I've stripped the van down — the seats are out, carpet is torn up, plastic siding has been removed, checked for rust, sealed all holes — and I'm ready to begin the build-out. Here's what I did on my first day.
1. Attach Reflectix where appropriate.
Reflectix is great for reducing the heat your van absorbs and preventing moisture build-up. But it needs AIR SPACE between itself and the side of the van for it to actually work. If this sounds confusing, read this — the single best article about insulation I found on the entire Internet.
2. Screw furring strips directly into metal van skeleton.
I laid them from front-to-back and placed one on the top part of the wall and one on the bottom. The panelboard will be screwed into these strips when I am ready to mount the siding.

Reflectix lining the gaps in the metal van siding; furring strips attached to top and bottom of wall for siding
3. Cut out polyiso foam and pop in between furring strips.
I'm not too concerned about insulation at this point, so I didn't go as all-in on this as someone who's planning on being in a cold climate might want to. I placed some polyiso cut outs in between the furring strips for additional insulation.
And that's it for day one. This might not seem like I accomplished a lot, but it takes quite a while and I believe it's a great start!

The polyiso between furring strips.. clearly choosing progress over perfection here.
Resources
Like I said, there's TONS of information on the van build-out process. It can be really overwhelming. Here were some resources I found most helpful:
WHAT'S NEXT
I'm excited to start seeing the van come together and begin to look like a little home on wheels.
Next up I'm installing the wooden ceiling panels. My original plan was to put the white panelboard on the ceiling, but the material is so heavy and floppy. I had a feeling it would be a pain to work with and require lots of screws, which aesthetically bothered me. And I've always loved that somewhat cliched wood paneling look, so heck, I'm gonna do it!
Questions? Ideas? Pointers? Feel free to comment below, or email amanda@amandasandlin.com.
